Grandma’s Homemade Chocolate Syrup: A Sweet Memory in Every Spoon
Grandma’s Homemade Chocolate Syrup: A Sweet Memory in Every Spoon
There’s something timeless about the smell of warm chocolate filling a kitchen. It’s the scent that takes you straight back to childhood — sticky fingers, milk mustaches, and that one saucepan that was always reserved for “the good stuff.” For me, homemade chocolate syrup isn’t just a recipe; it’s a memory poured into a jar.
I remember my grandmother making this syrup on lazy Sunday afternoons. She’d hum an old tune as the sugar melted and the cocoa blossomed into the richest aroma imaginable. No fancy gadgets, no complicated steps — just love, a wooden spoon, and patience. And when she handed me that first drizzle over a bowl of vanilla ice cream, it felt like pure magic.
What I love most about this recipe is its simplicity. You don’t need any special ingredients, and yet the result feels indulgent — glossy, smooth, and perfectly chocolatey. It’s the kind of recipe you make once and then find yourself reaching for again and again. Whether you’re topping pancakes, flavoring milk, or adding a spoonful to your morning coffee, this homemade chocolate syrup transforms the ordinary into something comforting and memorable.
So grab your saucepan and let’s bring back a bit of that old-fashioned sweetness.
Homemade Chocolate Syrup
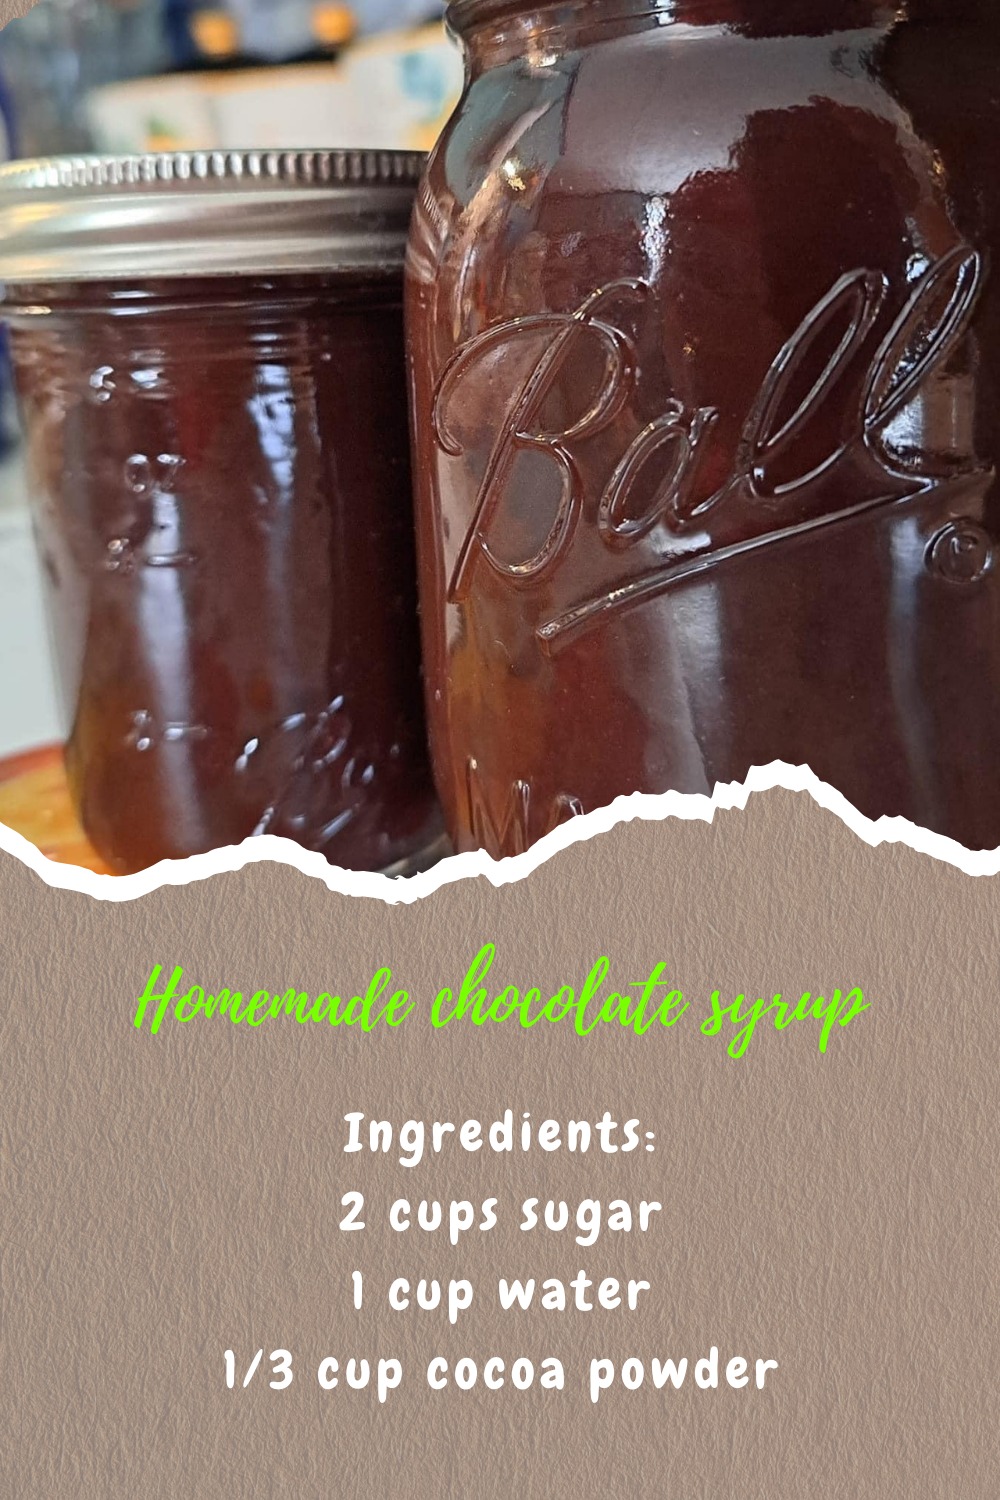
Ingredients
2 cups sugar
1 cup water
1/3 cup cocoa powder
1 Tbsp. Vanilla
1 Tbsp. Butter or Ghee
Directions
Combine sugar water and cocoa. Bring to a boil and boil for 3 minutes. Remove from heat and stir in butter and vanilla. If too runny it can be thickened with cornstarch and a little water.
Cooking Tips & Substitutions
This recipe is wonderfully forgiving and easy to adapt to your own taste. Here are a few helpful tips to make it even better:
1. Use high-quality cocoa powder:
The flavor of your syrup depends heavily on the cocoa you use. Dutch-process cocoa gives a smoother, richer taste, while natural cocoa adds a slightly deeper, more intense chocolate note.
2. Adjust the sweetness:
If you prefer a darker, less sweet syrup, try reducing the sugar by ¼ cup. You’ll get a more grown-up flavor perfect for drizzling over espresso or dark chocolate desserts.
3. Ghee vs. Butter:
Ghee gives the syrup a hint of caramelized nuttiness that pairs beautifully with cocoa, while butter keeps the flavor classic and creamy. Both are delicious — try both versions and see which you love more.
4. Thicker or thinner syrup:
As written, this recipe makes a lovely pourable syrup. But if you like a thicker texture (for dipping strawberries or spreading on toast), just cook it an extra minute or two, or add that cornstarch slurry as mentioned. For a thinner version, stop boiling after about 2 minutes.
5. Flavor twist ideas:
You can add a pinch of cinnamon, a few drops of peppermint extract, or even a touch of espresso powder to create your own signature version. Each variation brings a new personality to this simple syrup.
Serving Ideas
This syrup isn’t just for ice cream (though it’s heavenly that way). Here are a few of my favorite ways to enjoy it:
-
Over pancakes or waffles: Skip the maple syrup once in a while and pour this rich chocolate goodness instead.
-
In warm milk: Stir a spoonful into a mug of hot milk for instant homemade hot chocolate.
-
On fruit: Drizzle over sliced bananas, strawberries, or pears for a quick dessert.
-
For coffee lovers: Add a tablespoon to your latte or iced coffee for a homemade mocha.
-
Dessert drizzle: A little swirl on cheesecake, brownies, or even yogurt turns a simple treat into something special.
No matter how you use it, the joy is in that moment when the syrup slowly ribbons from the spoon — glossy, aromatic, and full of love.
Storage & Freezing Tips
Homemade chocolate syrup keeps beautifully if stored properly.
-
Storage: Pour it into a clean glass jar or bottle, seal tightly, and refrigerate. It will stay fresh for up to three weeks.
-
Reheating: If it thickens too much in the fridge, warm it gently in the microwave or set the jar in warm water for a few minutes.
-
Freezing: You can freeze it too! Pour into freezer-safe containers (leave a little space for expansion), and thaw overnight in the fridge when you’re ready to use.
Always give it a good stir before serving to bring back that smooth consistency.
Frequently Asked Questions (FAQ)
Q1: Can I use brown sugar instead of white sugar?
Yes! Brown sugar gives the syrup a deeper, molasses-like flavor that’s perfect if you love caramel undertones.
Q2: Is this syrup safe for kids?
Absolutely. It’s made from simple pantry ingredients — no preservatives, no artificial flavors, just real homemade goodness.
Q3: Can I make this syrup dairy-free?
Of course. Simply use a dairy-free butter substitute or skip the butter altogether. The texture will still be silky and smooth.
Q4: What’s the best way to thicken it without cornstarch?
You can simmer the syrup a little longer to reduce the water content naturally, or add a teaspoon of cocoa mixed with a splash of water for an extra chocolate boost.