Old-Fashioned Caramel Icing – A Nostalgic Southern Classic You’ll Fall in Love With
Old-Fashioned Caramel Icing – A Nostalgic Southern Classic You’ll Fall in Love With
Introduction
There’s something deeply comforting about recipes that feel like they’ve been passed down through generations—written on worn index cards, remembered by heart, or recreated from memory after years of watching someone special make them in the kitchen. Old-fashioned caramel icing is exactly that kind of recipe. It’s not just about sugar, milk, and butter—it’s about patience, tradition, and the kind of slow cooking that fills your home with warmth.
If you’ve never made caramel icing from scratch, you’re in for a treat. This isn’t the quick, store-bought version that comes in a tub. This is the real deal—the kind that requires a little attention, a little love, and rewards you with a rich, buttery caramel flavor that simply can’t be replicated any other way. The process itself feels almost meditative: watching sugar transform, stirring gently, and waiting for that perfect consistency.
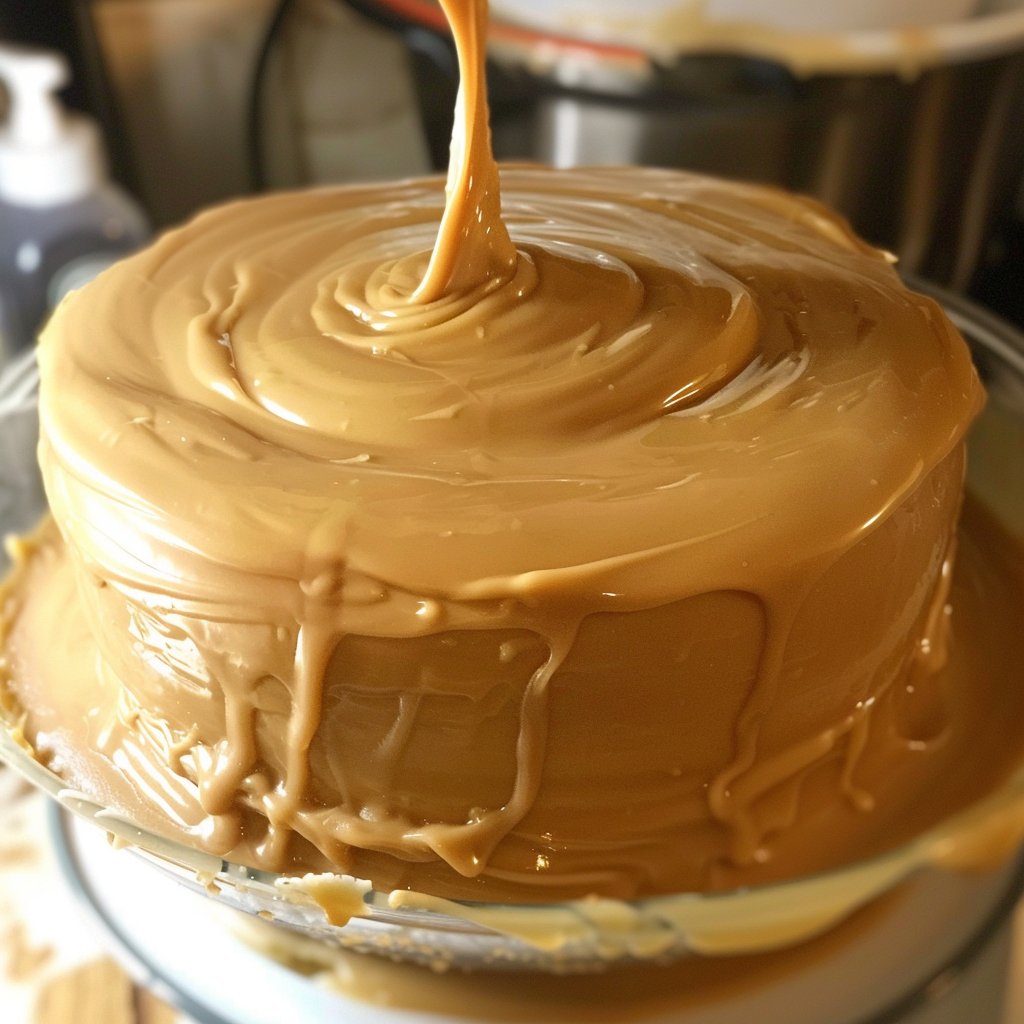
This icing pairs beautifully with classic cakes, especially yellow cake or pound cake, and has a way of turning even the simplest dessert into something unforgettable. It’s the kind of topping that makes people pause after the first bite and say, “Wow… what is this?”
So if you’re ready to bring a bit of old-school magic into your kitchen, let’s get started.
Old-Fashioned Caramel Icing
Ingredients
3 c white granulated sugar
1 1/3 c white whole milk
1 1/2 stick cold butter
5 Tbsp white granulated sugar
Directions
Combine 3 cups sugar and milk in a heavy sauce pan on medium heat. Stir together for a few minutes. Allow to continue to heat.
While milk and sugar are heating, place a small black iron skillet on med. to med. high heat. Add the 5 tablespoons on sugar. Stir in the skillet until the sugar liquifies and then turns golden brown. It will be bubbling hot.
Now the milk and sugar should be very hot. Carefully pour in the browned sugar from the skillet. Whisk together and cook for about 15 minutes or until the mixture reached the very soft ball stage. (test by dropping a little off a spoon into a small glass of cool water. When a small soft ball forms, it’s ready.)
Remove from heat and using an electric mixer, mix in 1 and 1/2 sticks cold butter…never margarine!
Continue to beat until cooled to spreading consistency.
If too thick, you can thin by beating in milk a tablespoon at a time.
Make sure your cake in completely cooled or this heavy icing may cause the top to split. It’ll still taste super though!
Cooking Tips & Substitutions
Making caramel icing from scratch can feel a bit intimidating at first, but once you understand the process, it becomes second nature. The most important thing is patience—rushing the sugar can lead to burning, and that bitter taste is hard to fix.
Use a heavy-bottomed saucepan to prevent uneven heating. Thin pans can cause the sugar to scorch in spots, which affects the final flavor. When melting the sugar in the skillet, keep a close eye on it—it can go from golden perfection to burnt in seconds.
If you don’t have a black iron skillet, a regular heavy pan will work, but cast iron really helps distribute heat evenly. Also, always use real butter as the recipe says. Margarine simply won’t give you the same richness or texture.
For a slightly deeper flavor, you can experiment with adding a tiny pinch of salt at the end for a salted caramel twist—but keep it subtle so it doesn’t overpower the classic taste.
Serving Ideas & When to Enjoy
This icing truly shines when paired with simple, classic cakes. Think fluffy yellow cake, moist vanilla sponge, or even a basic sheet cake. The richness of the caramel balances beautifully with lighter cake textures.
It’s perfect for special occasions like birthdays, family gatherings, or holiday dinners, but honestly, it’s just as satisfying on an ordinary day when you’re craving something comforting and homemade.
You can also drizzle it slightly warm over cupcakes for a rustic look or spread it thickly between cake layers for a more indulgent dessert. However you serve it, expect it to be the star of the table.
Storage & Freezing Tips
Caramel icing is best used fresh while it’s still spreadable, but if you have leftovers, you can store it in an airtight container at room temperature for a day or in the refrigerator for up to a week.
When refrigerated, it will firm up quite a bit. To reuse, gently warm it and beat it again until it returns to a spreadable consistency. You may need to add a small amount of milk to loosen it.
Freezing is possible, but not always ideal, as the texture can change slightly. If you do freeze it, thaw it slowly in the refrigerator and rewhip before using.
FAQ
1. Why did my caramel icing turn grainy?
This usually happens if the sugar crystallizes during cooking. Stirring too much after a certain point or uneven heating can cause this. Using a heavy pan and steady heat helps prevent it.
2. How do I know when it reaches the soft ball stage?
The water test mentioned in the recipe is key. Drop a bit into cool water—if it forms a soft, pliable ball, it’s ready.
3. Can I make this without an electric mixer?
You can, but it will take much more effort. An electric mixer helps achieve that smooth, creamy texture much faster.
4. What cakes go best with this icing?
Classic yellow cake, butter cake, and pound cake are all excellent choices. The simplicity of the cake lets the caramel flavor shine.