Better Than Anything Bars – The Irresistible Dessert Everyone Talks About
Better Than Anything Bars – The Irresistible Dessert Everyone Talks About
Introduction
Some desserts earn their name the moment you take the first bite—and these Better Than Anything Bars do exactly that. Rich, gooey, chocolatey, and layered with caramel goodness, they’re the kind of treat that disappears from the table faster than you can cut the second slice.
This is the dessert you bring when you want people to ask for the recipe. It’s the one that gets remembered long after the party ends, the one someone casually mentions weeks later: “Hey… remember those bars?” There’s something about the combination of soft chocolate crust, silky caramel, and that light, creamy topping that just hits every craving at once.
What makes these bars even more special is how simple they are to put together. No complicated techniques, no hard-to-find ingredients—just a handful of pantry staples layered into something that tastes like it took hours of effort. It’s the kind of recipe that feels a little nostalgic too, like something you’d find at a family gathering or tucked into a well-loved recipe box.
Whether you’re making dessert for a crowd, treating yourself after a long day, or just craving something indulgent and comforting, these bars deliver every single time. Fair warning though—once you make them, people will expect them again.

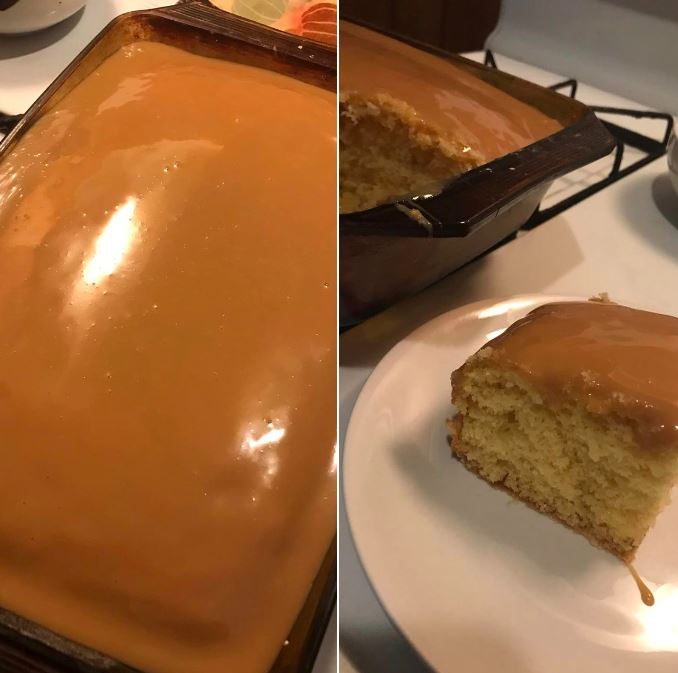
Better Than Anything Bars
Ingredients:
1 box chocolate cake mix
1/2 cup unsalted butter, melted
1 can (14 oz) sweetened condensed milk
1 jar (12 oz) caramel sauce
1 cup crushed toffee bits (such as Heath)
1 1/2 cups whipped topping or whipped cream
1/2 cup mini chocolate chips (optional for garnish)
Directions:
Preheat the oven to 350°F (175°C). Grease a 9×13-inch baking dish.
In a large bowl, combine the chocolate cake mix and melted butter until a thick dough forms.
Press the dough evenly into the bottom of the prepared baking dish.
Bake the crust for 12-15 minutes, or until set.
Remove from the oven and pour the sweetened condensed milk and caramel sauce evenly over the warm crust.
Sprinkle half of the crushed toffee bits over the caramel layer.
Return the dish to the oven and bake for an additional 10 minutes.
Let the bars cool completely. Once cooled, spread the whipped topping evenly over the top.
Garnish with the remaining toffee bits and mini chocolate chips (if using).
Refrigerate for at least 2 hours before slicing and serving.
Prep Time: 10 minutes
Cooking Time: 25 minutes
Total Time: 2 hours 35 minutes (including chilling time)
Kcal: 300 kcal per bar
Servings: 12-16 bars
Tips & Substitutions
If you want these bars to turn out absolutely perfect, don’t rush the cooling process. It might be tempting to dig in early, but letting them cool completely—and then chilling them—helps the layers set beautifully. Otherwise, you’ll end up with a delicious but messy scoop instead of neat bars.
When mixing the crust, the texture should be thick and slightly sticky. If it feels too dry, your butter might not have been fully incorporated. Take a moment to mix thoroughly before pressing it into the pan.
For substitutions, you’ve got plenty of room to play. Swap the chocolate cake mix for a devil’s food version for a deeper chocolate flavor. Not into toffee? Try crushed cookies or chopped nuts instead. You can even drizzle a bit of chocolate syrup on top for extra indulgence.
If you prefer homemade whipped cream, go for it—it adds a fresher, lighter finish compared to store-bought topping.
Serving Ideas
These bars are perfect for just about any occasion. Serve them chilled straight from the fridge for clean slices and a refreshing texture. They’re ideal for potlucks, birthdays, or casual get-togethers where you want something crowd-pleasing.
Cut them into smaller squares if you’re serving a large group—trust me, they’re rich enough that a little goes a long way. Pair them with a cup of coffee or a cold glass of milk to balance out the sweetness.
They also make a great make-ahead dessert. Prepare them the night before an event, and you’ll have one less thing to worry about the next day.
Storage & Freezing Tips
Store any leftovers in an airtight container in the refrigerator for up to 4 days. The chilled texture actually makes them even more enjoyable, so don’t worry about them losing quality.
If you want to freeze them, it’s best to do so before adding the whipped topping. Wrap the cooled bars tightly and freeze for up to 2 months. When ready to serve, thaw in the refrigerator and add the topping fresh.
If you’ve already added the topping, freezing is still possible, but the texture may change slightly upon thawing.
FAQ
Can I use homemade caramel sauce instead of store-bought?
Yes, and it can make the bars even more flavorful. Just make sure it’s thick enough so it doesn’t soak too much into the crust.
Why do my bars seem too soft?
They likely need more chilling time. Refrigeration helps everything firm up and hold its shape.
Can I make these ahead of time?
Absolutely. In fact, they’re even better when made a day in advance because the flavors have more time to meld together.
Do I have to use toffee bits?
No. They add a nice crunch, but you can replace them with nuts, crushed cookies, or leave them out entirely.