Homemade Payday Candy Bars – Sweet, Salty, and Irresistibly Chewy
Homemade Payday Candy Bars – Sweet, Salty, and Irresistibly Chewy
Introduction
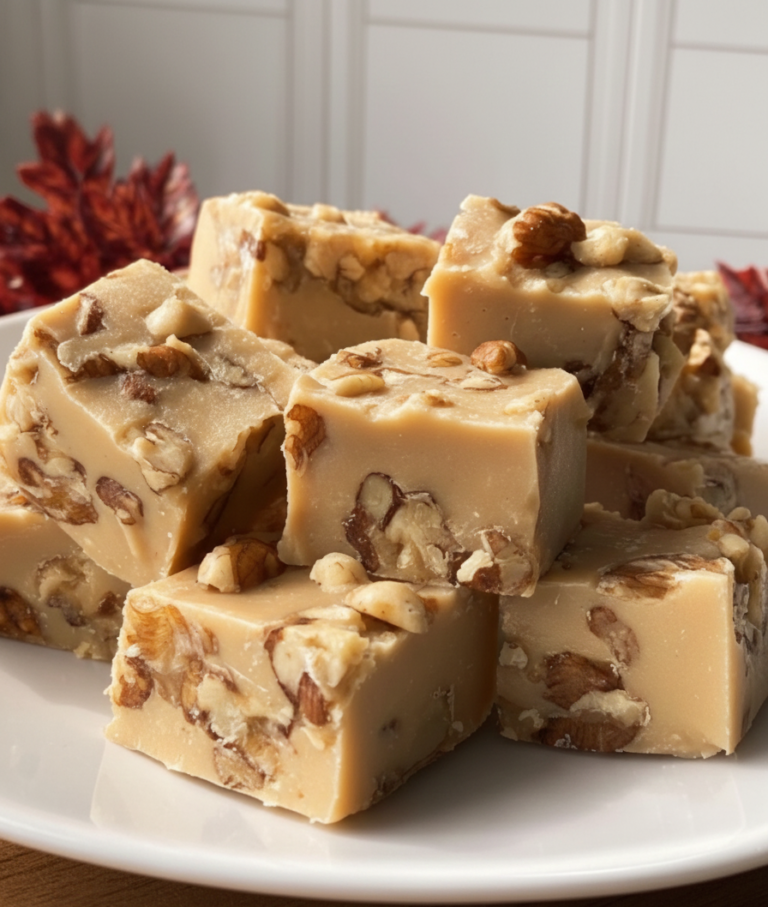
Some treats don’t just satisfy a sweet tooth—they bring back memories, spark joy, and make you feel like a kid again. Homemade candy bars fall right into that category, and these Homemade Payday Candy Bars are no exception. With their perfect balance of salty peanuts and sweet, creamy filling, they capture everything people love about classic candy… but with a homemade touch that makes them even better.
There’s something incredibly satisfying about recreating a store-bought favorite in your own kitchen. You know exactly what goes into it, you can tweak it to your taste, and honestly, it just feels more special. These bars are rich, chewy, and packed with peanut flavor, layered with gooey marshmallow goodness that holds everything together beautifully. The texture alone—soft yet slightly firm with a satisfying crunch—is enough to make you come back for seconds.
What makes this recipe even more appealing is how simple it is. No complicated techniques, no hard-to-find ingredients—just a straightforward process that delivers big results. Whether you’re making them for a family gathering, a weekend treat, or just because you’re craving something sweet and salty, these candy bars are guaranteed to disappear fast.
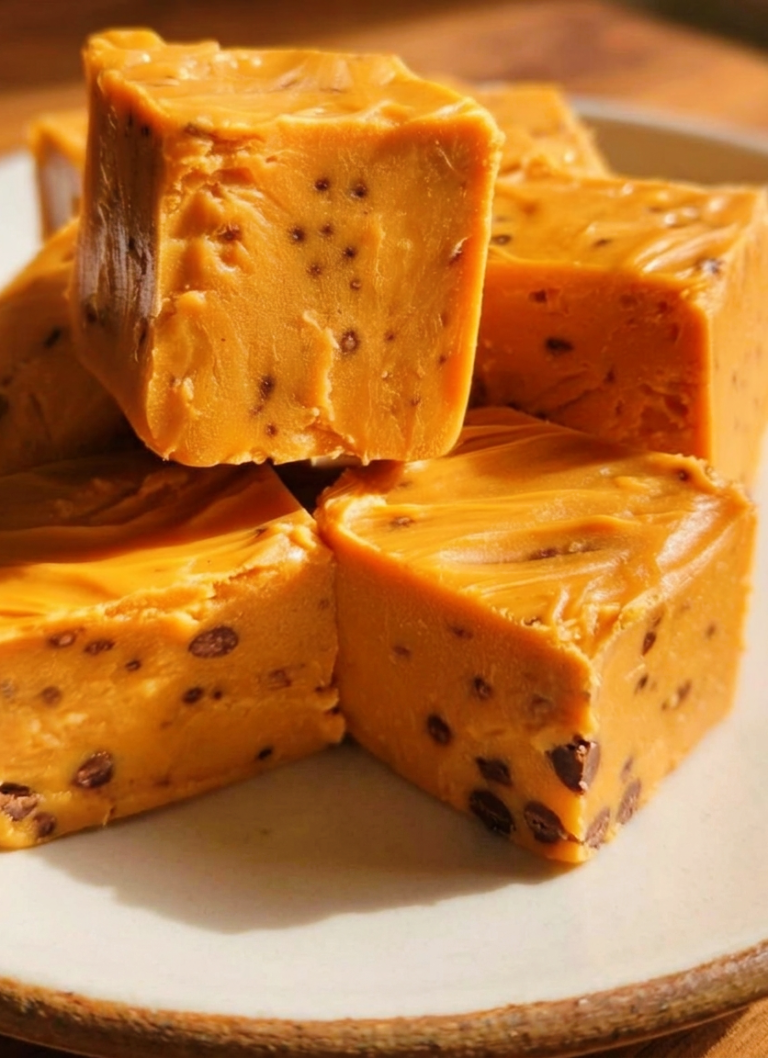
Homemade Payday Candy Bars
Ingredients
Homemade payday candy bar requires just a few ingredients
1.3 cups salted peanuts
2.2 cups peanut butter chips
3.2 cups mini marshmallows
4.1 can sweetened condensed milk
5.3 tablespoons unsalted butter
6.½ teaspoon vanilla extract
Directions
Step 1: Place butter and peanut butter chips in a large saucepan and melt them over medium heat until you achieve a smooth consistency.
Step 2: Add condensed milk, vanilla extract and marshmallows to the melted butter-peanut butter mix. Stir until the mix is smooth and fully incorporated.
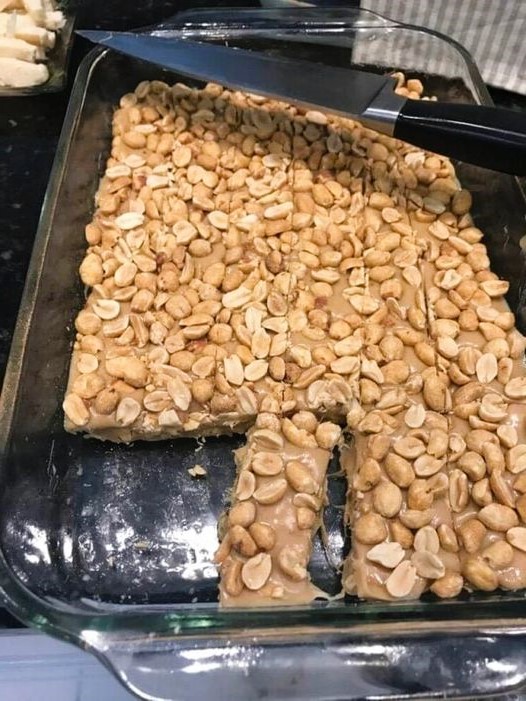
Step 3: Grease a 9×13-inch rectangular baking dish with butter or non-stick spray. Spread half of the peanuts across the baking dish
Step 4: Pour the mix from step 2evenly over the peanuts, and then sprinkle the remaining peanuts on top
Step 5: Refrigerate or let sit at room temperature until it sets. Cut candy into serving bars and enjoy.
Cooking Tips and Substitutions
If you want these bars to turn out perfectly, pay attention to the melting step. Keep the heat at medium or slightly lower—too much heat can cause the peanut butter chips to scorch or seize, and then you’re stuck with a mess instead of a smooth mixture.
Don’t rush the stirring process either. When you add the marshmallows and condensed milk, keep mixing until everything is fully melted and blended. You’re aiming for a silky, cohesive mixture with no lumps.
Want to switch things up? You can use unsalted peanuts if you prefer a less salty bite, or even mix in roasted nuts for a deeper flavor. If peanut butter chips aren’t your favorite, you could experiment with butterscotch chips for a slightly different but still delicious twist.
For an extra indulgent version, a light drizzle of melted chocolate over the top after setting can take these bars to another level—though honestly, they’re already pretty rich as they are.
Serving Ideas and When to Enjoy
These candy bars are perfect for just about any occasion. They’re great for potlucks, bake sales, or casual get-togethers where you want something easy but impressive. Because they’re cut into bars, they’re also super convenient to serve—no forks, plates, or extra fuss required.
They pair wonderfully with a cup of coffee or tea, especially when you want a little afternoon pick-me-up. The combination of sweet and salty makes them satisfying without feeling overly heavy, though let’s be real—one bar is rarely enough.
You can also package them up as homemade gifts. Wrap a few bars in parchment paper, tie them with a bit of string, and suddenly you’ve got a thoughtful, delicious treat that anyone would appreciate.
Storage and Freezing Tips
Once your candy bars have fully set, store them in an airtight container. They’ll keep well at room temperature for a couple of days, but if your kitchen is warm, it’s better to refrigerate them to maintain their structure.
In the fridge, they can last up to a week, staying firm and chewy. Just let them sit out for a few minutes before serving if you prefer a softer texture.
You can also freeze these bars if you want to make them ahead of time. Wrap them individually or layer them with parchment paper in a container. When you’re ready to enjoy, let them thaw in the refrigerator or at room temperature.
Frequently Asked Questions
1. Can I use regular chocolate chips instead of peanut butter chips?
You can, but it will change the flavor quite a bit. Peanut butter chips give these bars their signature taste, so swapping them will make it more like a chocolate-peanut dessert.
2. Why didn’t my bars set properly?
This usually happens if the mixture wasn’t heated and combined thoroughly, or if it didn’t have enough time to cool and firm up. Make sure to let it set completely before cutting.
3. Can I make this recipe ahead of time?
Yes, these bars are actually great for making ahead. Just store them properly, and they’ll be ready whenever you need them.
4. Are these very sweet?
They are definitely on the sweeter side, but the salted peanuts help balance everything out nicely.