Old Fashioned Black Walnut Fudge in a Cast Iron Skillet
Old Fashioned Black Walnut Fudge in a Cast Iron Skillet: A Sweet Nostalgic Treat
Introduction
If you’re looking for a sweet treat that brings back memories of simpler times, this old-fashioned black walnut fudge made in a cast iron skillet is just the thing! There’s something magical about cooking in cast iron—it adds a rustic touch to every dish, and in this case, it creates the perfect, smooth texture for the fudge. This recipe is a throwback to the days when everything was made from scratch and enjoyed with family and friends.
The combination of rich cocoa powder, creamy evaporated milk, and crunchy black walnuts creates a fudge that’s both nostalgic and satisfying. With just a few ingredients and an easy-to-follow method, you’ll be able to make this delicious fudge in no time at all. Whether you’re preparing it for a holiday gathering or just a cozy night in, this homemade fudge will undoubtedly become a favorite in your kitchen!
Old Fashioned Black Walnut Fudge in a Cast Iron Skillet
Ingredients
-
1 stick of butter
-
2 cups sugar
-
1/2 cup cocoa powder
-
1/2 cup evaporated milk
-
1 teaspoon vanilla extract
-
1 cup black walnuts
Directions
-
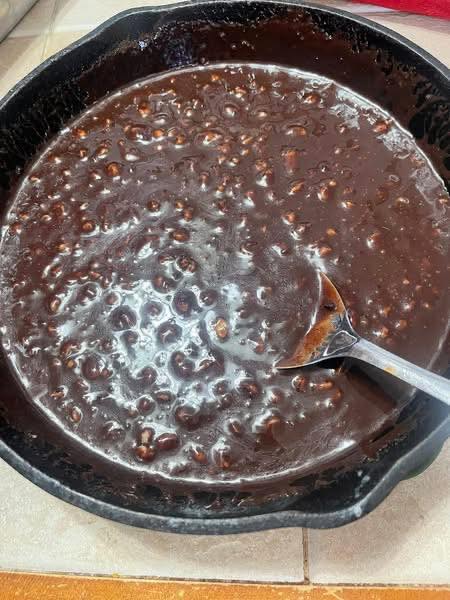
In a cast iron skillet, melt together the butter, sugar, cocoa powder, and evaporated milk. Stir until well combined.
-
Bring the mixture to a hard boil, stirring constantly. Boil for 4 minutes.
-
Remove the skillet from the heat and add the vanilla extract and black walnuts. Stir to combine.
-
Continue stirring every few minutes to allow the fudge to cool and begin to thicken (this step does not require the fudge to lose its gloss, as the recipe suggests).
-
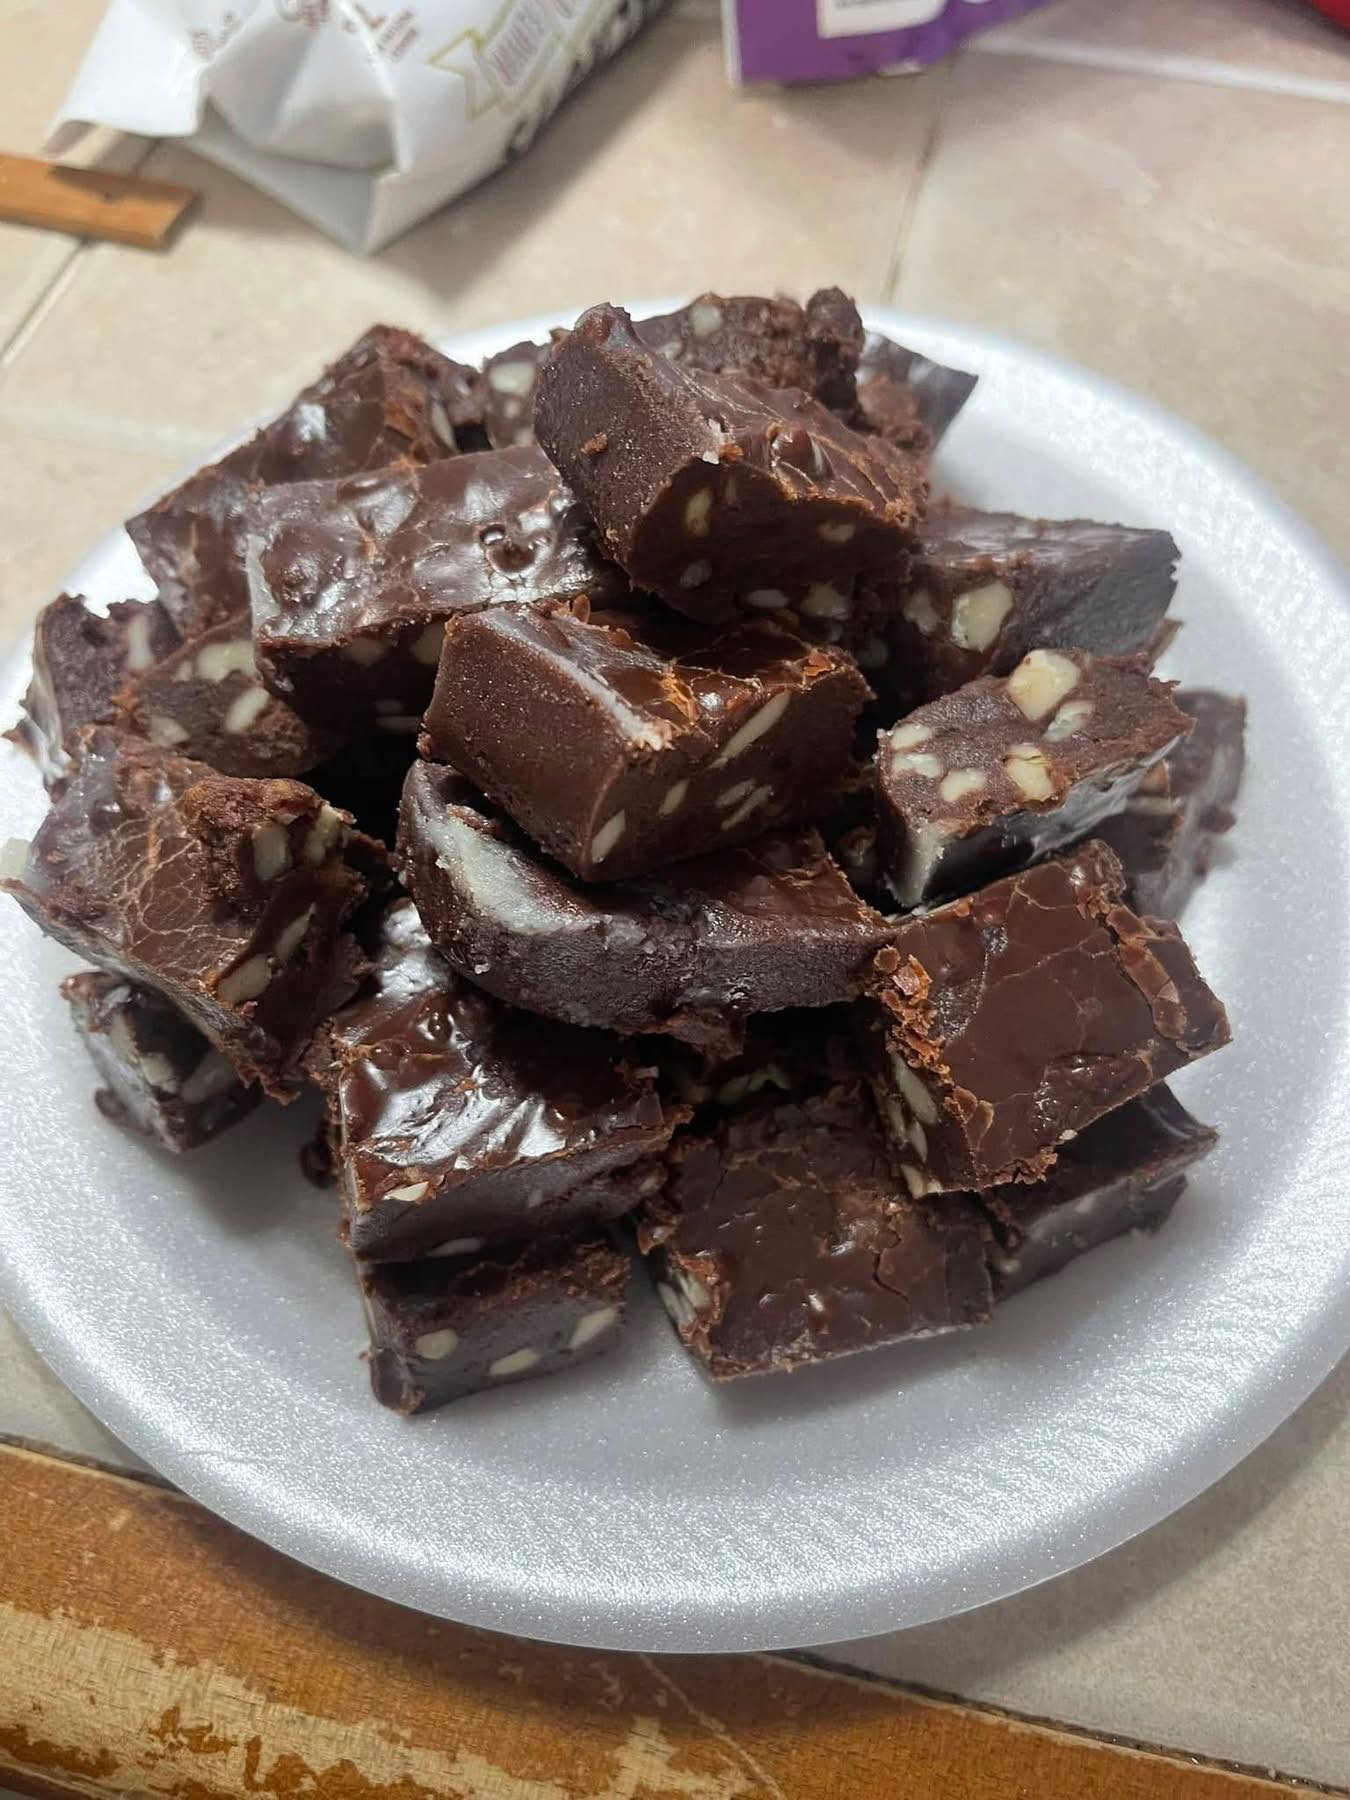
Once the fudge has thickened slightly, pour it into a buttered pan and let it cool completely.
-
Once the fudge has cooled, cut it into pieces and transfer them to a container. This fudge does not need to be refrigerated.
Additional Content
Cooking Tips and Possible Substitutions
Making fudge in a cast iron skillet is a great way to achieve that perfect smooth texture, but there are a few things to keep in mind to ensure your fudge turns out just right. First, make sure to stir constantly while the mixture is boiling to prevent burning. The key is to keep an eye on it and maintain a gentle boil for the full four minutes.
If you don’t have black walnuts on hand, regular walnuts can be used as a substitute. Black walnuts, however, have a more robust and earthy flavor, which is why they are the star of this recipe. If you want a different twist, you could even try using pecans or almonds!
Another tip is to be patient when letting the fudge cool. You don’t need to follow the instruction to stir until it loses its gloss, which can be time-consuming. Instead, stir it every few minutes and let it cool until it begins to thicken. This ensures the fudge has a creamy consistency when you pour it into the pan.
Serving Ideas and When to Enjoy It
This old-fashioned fudge makes for a perfect dessert or snack after dinner. You can serve it at family gatherings, holiday parties, or even as a thoughtful homemade gift for loved ones. It pairs wonderfully with a cup of coffee, hot cocoa, or even a glass of cold milk.
If you’re looking for a creative twist, try adding a sprinkle of sea salt on top of the fudge before it cools. The combination of sweet and salty creates a delightful flavor contrast that will surprise and delight your guests.
Storage or Freezing Tips
This fudge does not require refrigeration, making it a great make-ahead treat. Simply store it in an airtight container at room temperature. It will stay fresh for about a week, though we’re sure it won’t last that long once you taste it!
If you want to freeze the fudge, simply wrap individual pieces in plastic wrap and store them in an airtight freezer-safe container. When you’re ready to enjoy them, let them thaw at room temperature for about 30 minutes before serving.
FAQ
1. Can I use regular milk instead of evaporated milk?
While evaporated milk adds a creamier texture to the fudge, you can substitute regular milk. However, keep in mind that the consistency of the fudge might be a little different.
2. How can I make sure my fudge doesn’t become too hard?
To avoid the fudge becoming too hard, be sure to monitor the boiling time closely. Boil for exactly 4 minutes to achieve the right texture. Overboiling can lead to a harder fudge.
3. What can I add to make this fudge even more special?
Feel free to experiment by adding a dash of cinnamon, a splash of bourbon, or even a handful of mini marshmallows for an extra indulgent treat.
4. Can I double the recipe?
Yes, you can easily double the recipe! Just make sure to use a larger pan for melting the ingredients and adjust the cooling time slightly.