The Easiest Homemade Sandwich Bread You’ll Ever Make (No Kneading Required!)
The Easiest Homemade Sandwich Bread You’ll Ever Make (No Kneading Required!)
There’s something magical about the smell of freshly baked bread wafting through the kitchen — that comforting, golden aroma that seems to wrap around you like a warm hug. Growing up, I used to think bread baking was some secret art form, reserved for patient grandmothers and professional bakers who somehow knew how to tame dough. I couldn’t have been more wrong.
This no-knead, no-fuss sandwich bread changed everything for me. The first time I tried it, I was skeptical — no butter? no eggs? no kneading? Surely, it would end up as a dense brick instead of that soft, pillowy texture we crave in a sandwich loaf. But to my surprise, it turned out beautifully. Golden crust, tender crumb, and that perfect yeasty warmth that tastes like home.
Now, it’s become my weekly ritual. There’s something so satisfying about stirring together simple ingredients — flour, water, yeast, sugar, and salt — and watching them transform into a loaf that fills your house with comfort. Every time I bring it to work, my coworkers light up. I’ve lost count of how many times someone’s asked, “You made this?!” before requesting their own loaf.
If you’ve ever wanted to bake bread but didn’t know where to start, this recipe is your sign. It’s proof that you don’t need fancy equipment or hours of kneading to create something amazing. With a single bowl and a little patience, you’ll have homemade sandwich bread that rivals your favorite bakery — soft, flavorful, and downright irresistible.
Easy No-Knead Sandwich Bread
Ingredients
(Do not alter or edit – kept exactly as provided)
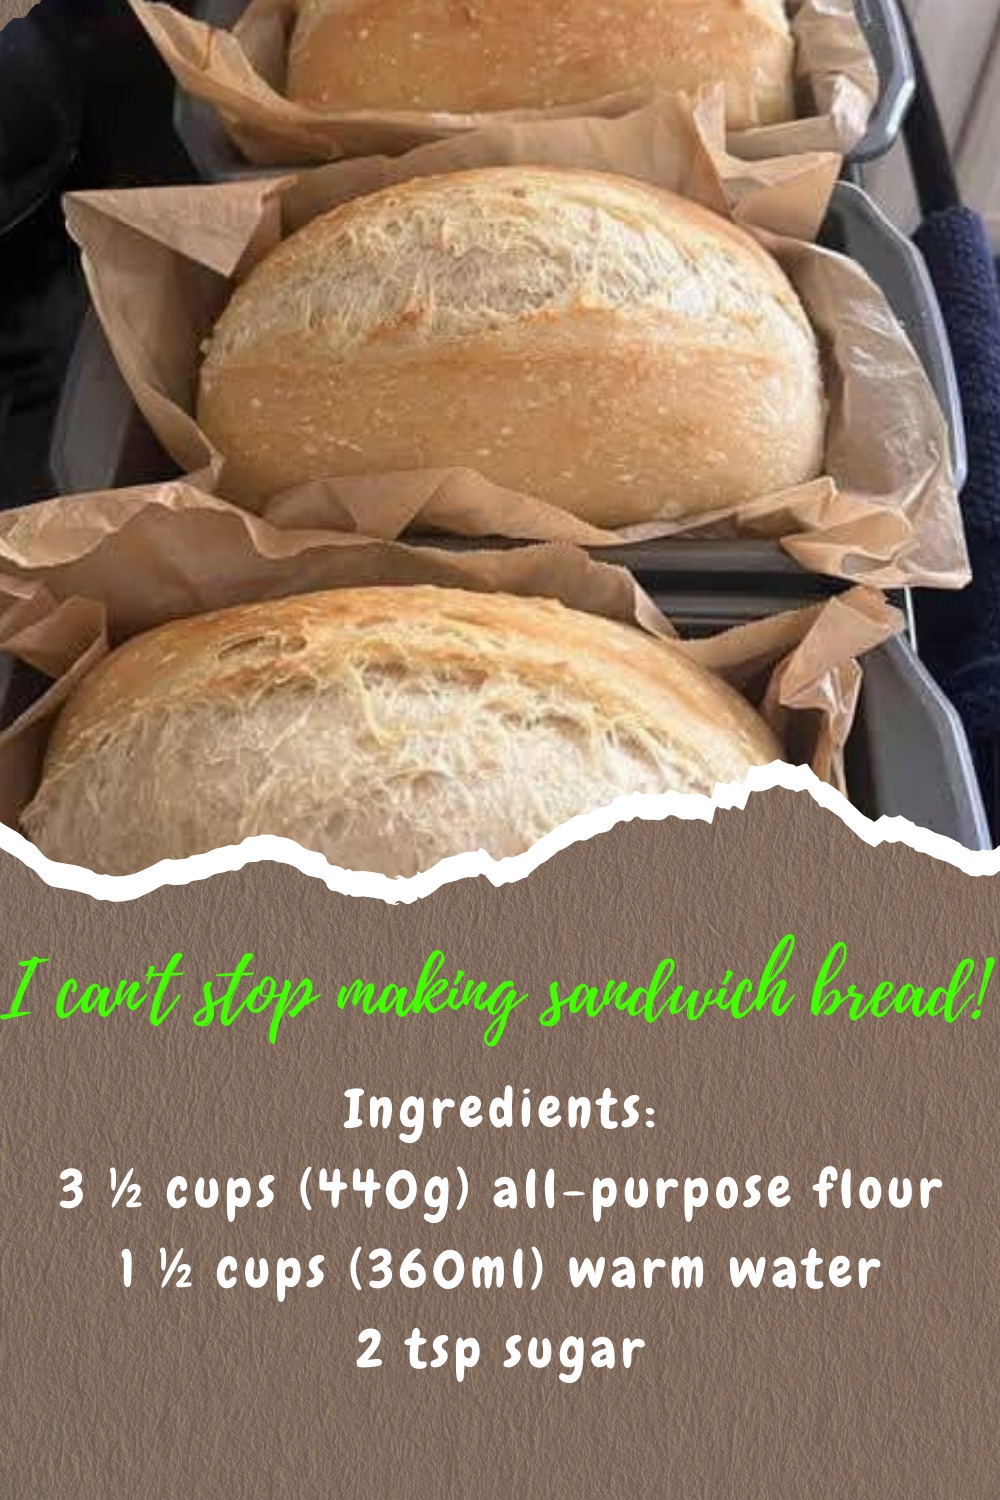
3 ½ cups (440g) all-purpose flour
1 ½ cups (360ml) warm water
2 tsp sugar
1 ½ tsp salt
2 ¼ tsp (1 packet) instant yeast
Instructions
(Exact wording preserved)
-
In a bowl, mix warm water, sugar, and yeast. Let it sit for 5-10 minutes until foamy.
-
Add flour and salt, then stir until combined. The dough will be sticky—that’s okay!
-
Cover and let it rise for about 1 hour, or until doubled in size.
-
Transfer to a greased loaf pan, smooth the top, and let it rise for another 30 minutes.
-
Bake at 375°F (190°C) for 30-35 minutes, until golden brown.
-
Let it cool before slicing. Enjoy!
Cooking Tips and Substitutions
-
Flour Choices: While all-purpose flour gives a light, tender texture, you can swap half of it for whole wheat flour for a heartier loaf. Keep in mind, the texture will be slightly denser, but still soft and delicious.
-
Yeast Tips: Instant yeast works beautifully here, but if you only have active dry yeast, that’s fine too! Just let it bloom in warm water with sugar for about 10 minutes before adding the flour and salt.
-
Adding Flavor: Want a touch of sweetness? Add a tablespoon of honey or maple syrup. For a richer flavor, stir in a tablespoon of olive oil before the first rise — it adds subtle moisture and a hint of complexity.
-
Texture Boost: Sprinkle rolled oats or sesame seeds on top before baking for a bakery-style finish.
When and How to Serve It
This bread is incredibly versatile — it’s the kind of loaf that fits seamlessly into any meal. Toast it in the morning with butter and jam for a cozy breakfast, or make a simple grilled cheese that’ll make you close your eyes in delight after the first bite.
For lunch, it’s perfect for sandwiches — soft enough to hold fillings but sturdy enough not to fall apart. I especially love layering it with turkey, cheese, and a smear of mustard for a classic deli-style sandwich.
And don’t overlook dinner! Slice it thick, toast it lightly, and serve it alongside soup, stew, or even pasta. It’s comfort food in its purest form — simple, homey, and endlessly satisfying.
Storage and Freezing Tips
Homemade bread doesn’t last as long as store-bought (since it’s free from preservatives), but that’s part of its charm. Here’s how to keep it fresh:
-
Room Temperature: Store it in an airtight bag or wrapped in a clean kitchen towel at room temperature for up to 3 days.
-
Freezing: To freeze, let the loaf cool completely, slice it, and place the slices in a freezer-safe bag. That way, you can grab one or two pieces whenever you need them — just pop them in the toaster or oven to reheat.
-
Reviving Stale Bread: If your bread starts to lose its softness, wrap it in foil and warm it in a 300°F (150°C) oven for about 10 minutes. It’ll come back to life beautifully!
FAQs
1. Can I make this bread without yeast?
Not quite — yeast is what gives the bread its rise and airy texture. For a yeast-free option, try a quick soda bread instead.
2. How do I know when my dough has risen enough?
When it’s roughly doubled in size and feels light and airy when you gently press it with a fingertip, it’s ready.
3. Why is my bread dense?
Dense bread usually happens if the yeast wasn’t active enough or the dough didn’t rise long enough. Make sure your water is warm (not hot) and give it enough proofing time.
4. Can I use a stand mixer instead of mixing by hand?
Absolutely! A mixer with a dough hook can make the process even easier, though you don’t need one. The beauty of this recipe is that it works perfectly without kneading or fancy equipment.