Homemade Banana Pudding the Old-School Way (Stove-Top, Oven-Finished, No Shortcuts)
Homemade Banana Pudding the Old-School Way (Stove-Top, Oven-Finished, No Shortcuts)
Introduction
Homemade banana pudding like this doesn’t come from a box and it definitely doesn’t come from impatience. This is the kind that takes over the kitchen for a while. Milk warming on the stove, eggs getting separated with care, someone standing there stirring like their life depends on it because if you stop for even a second, the pudding reminds you who’s in charge. This is banana pudding with authority.
If you grew up around Southern kitchens or anywhere people believed dessert should mean something, you know this version. The baked one. The one with real pudding cooked on the stove and a cloud of meringue browned just enough in the oven to make everyone hover nearby pretending they’re not waiting for it to come out. It’s warm, rich, layered, and deeply nostalgic in a way no chilled shortcut version can touch.
This is the dessert that showed up at family gatherings in heavy glass bowls. The one that made people argue about who got the corner scoop with extra wafers and toasted meringue. It smells like vanilla, bananas, and patience. It’s not fancy, but it’s serious.
This banana pudding asks you to slow down and pay attention. And in return, it gives you something comforting, dramatic, and deeply satisfying. If you want the easy version, you already know where to find it. This one is for people who want the real thing, the way it’s been made for generations, and honestly, the way it deserves to be made.
Now let’s do it properly.
Homemade banana pudding
Ingredients
You will need at least a box of vanilla wafers and 6 bananas.
Pudding:
4 cups milk
6 egg yolks
2 cups sugar
1/2 cup corn starch
2 tsp vanilla
Meringue:
1/2 cup sugar
The whites of the six eggs
Directions
Cook on stove, stirring constantly until it thickens.
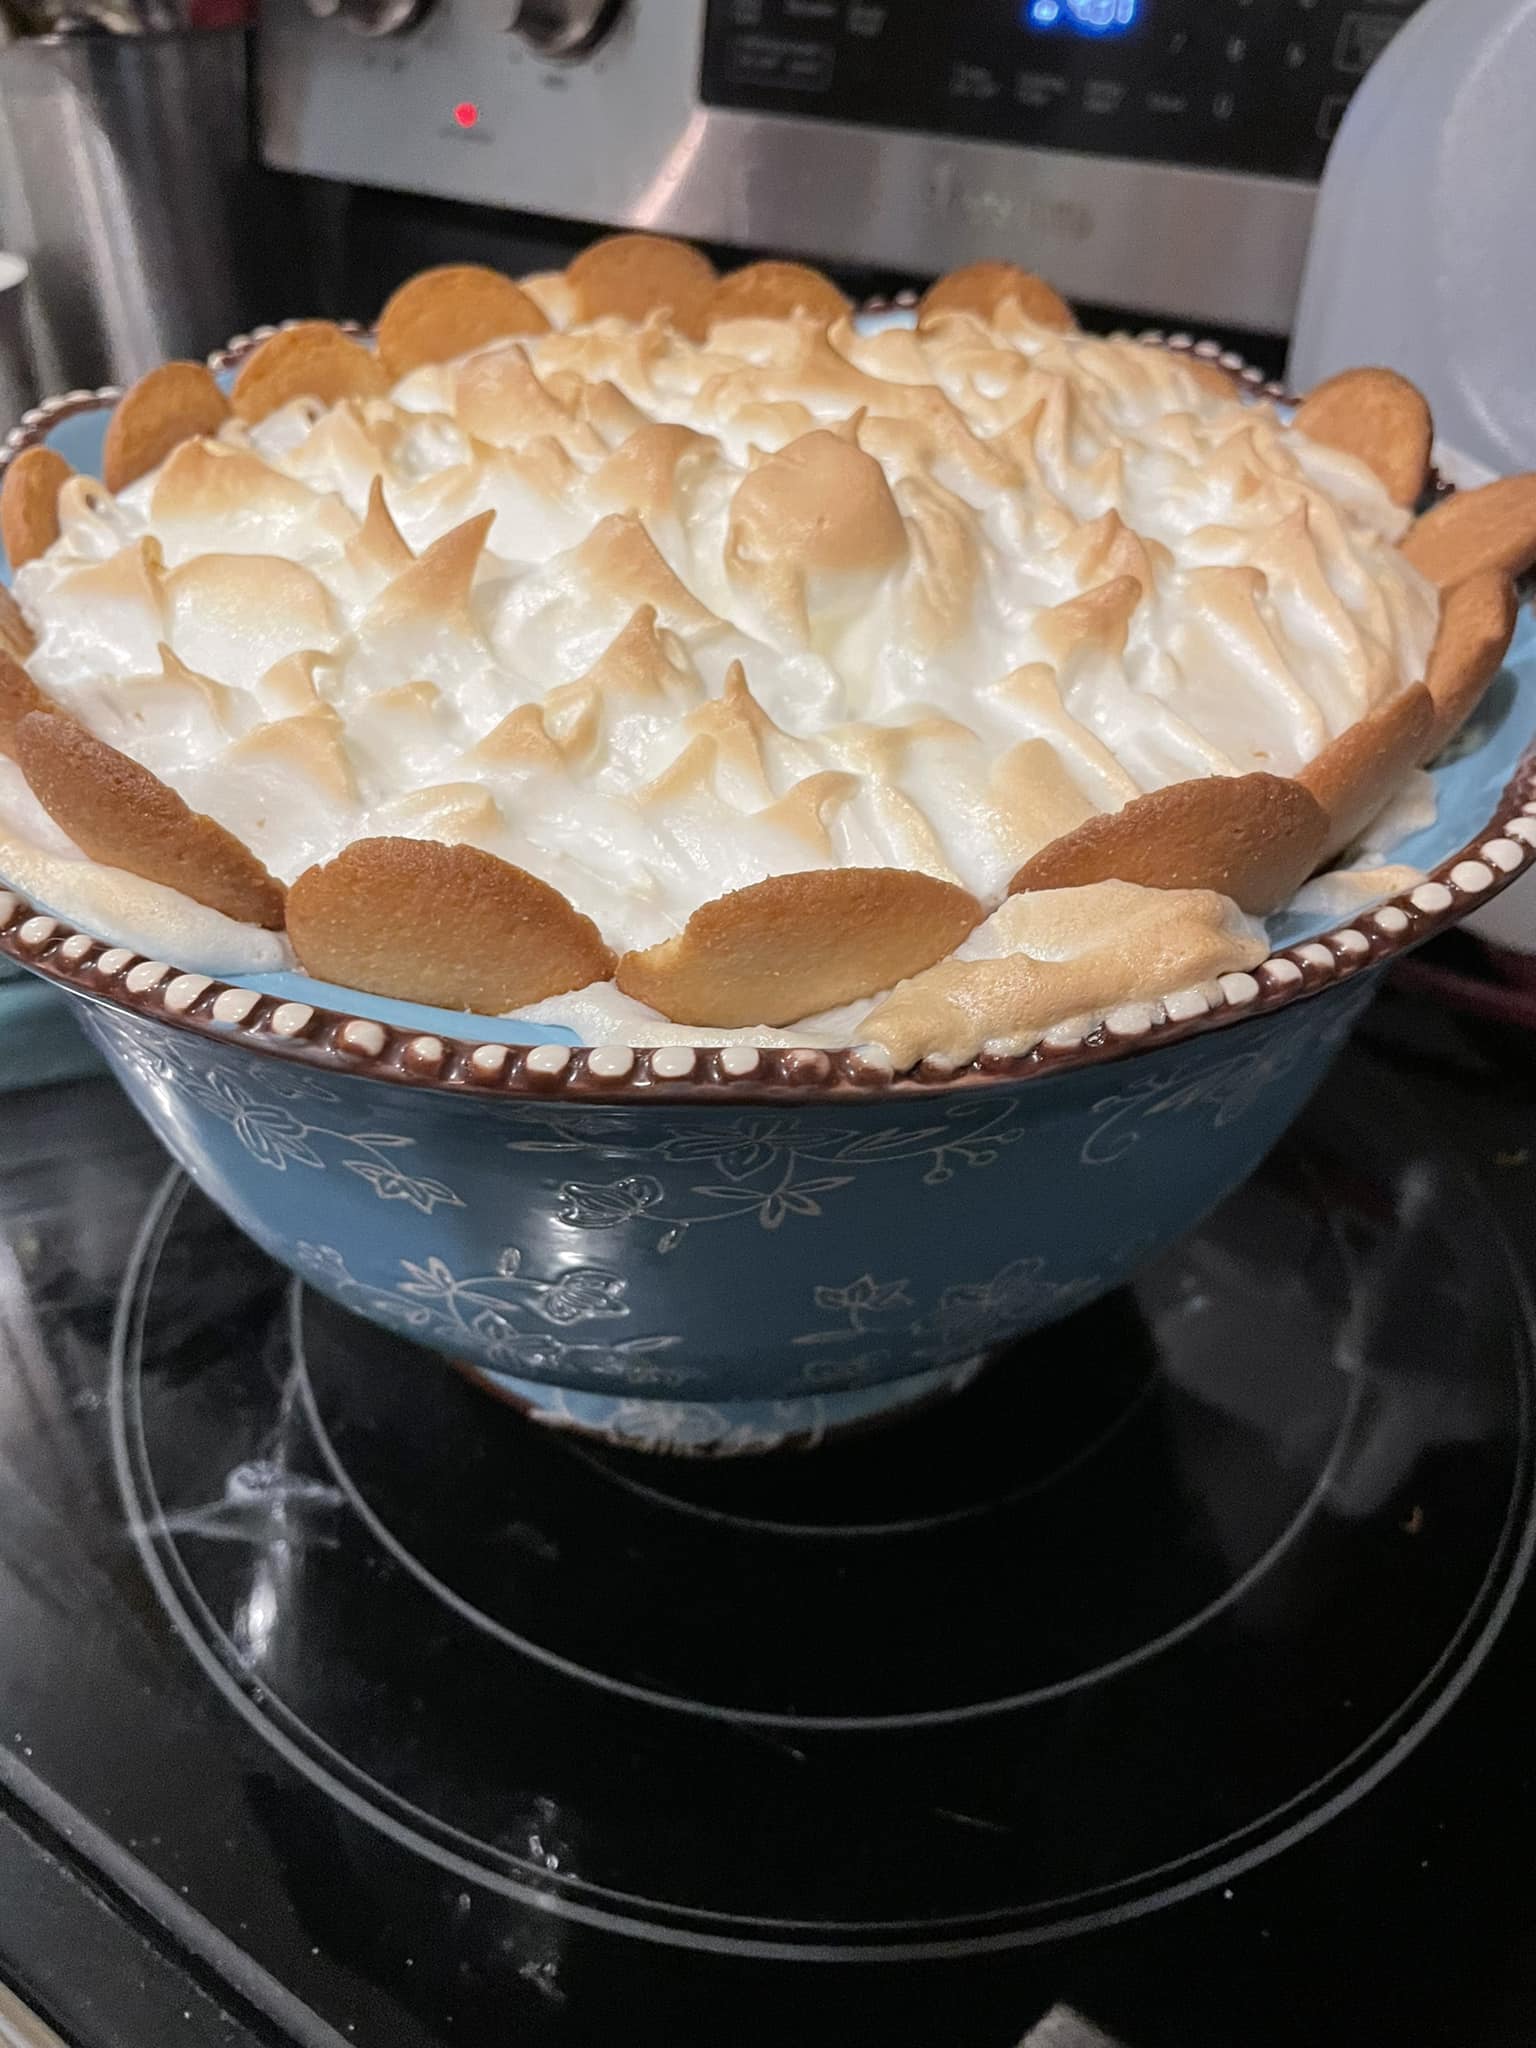
Layer some pudding on the bottom of your bowl, next layer some vanilla wafers, next layer some bananas, repeat.
Whisk together until stiff peaks form. Spread on top of your assembled pudding and form peaks with a knife.
Ring the edge of your pudding with vanilla wafers.
Bake in an oven at 400 degrees Fahrenheit until the meringue is brown.
Cooking Tips and Possible Substitutions
This recipe doesn’t tolerate distractions. When it says stir constantly, it means constantly. Walk away and you’ll end up with scrambled eggs pretending to be pudding. Use a heavy-bottomed pot and keep the heat reasonable. Rushing this step is how regret is born.
Separate your eggs carefully. Any yolk in the whites will sabotage your meringue, and this pudding deserves better than that kind of chaos. Let the egg whites come to room temperature before whisking so they whip up properly.
Use ripe bananas, not green ones trying to prove a point. You want sweetness and softness so they melt into the pudding layers instead of sitting there stubbornly.
Vanilla wafers matter more than people admit. They soften into the pudding and create that classic texture that somehow feels both creamy and structured. Don’t swap them unless you’re prepared for a different experience.
Serving Ideas and When to Enjoy It
This banana pudding is best served slightly warm or at room temperature, when the pudding is silky and the meringue is still proud on top. It’s ideal for Sunday dinners, holidays, reunions, or anytime you want to remind people that homemade dessert still matters.
Serve it straight from the dish. No need for fancy plating. This dessert looks impressive on its own, especially with those toasted meringue peaks catching the light.
It pairs perfectly with strong coffee, quiet conversations, and people going back for seconds while pretending they’re just “getting a little more pudding.”
Storage Tips
Cover leftovers tightly and refrigerate. The pudding will firm up as it chills, and the flavors will deepen overnight. It keeps well for a couple of days, though the meringue is best on day one.
If you know you’ll be storing it, press plastic wrap gently against the meringue to help prevent weeping. It’s not magic, but it helps.
Freezing isn’t recommended. This pudding deserves better than freezer trauma.
Frequently Asked Questions
Why did my pudding turn lumpy?
Heat was too high or stirring wasn’t constant. Slow down and keep stirring next time.
Why won’t my meringue stiffen?
There may have been yolk in the whites, or they weren’t whipped long enough. Clean bowl, clean whisk, patience.
Can I assemble this ahead of time?
You can make the pudding ahead, but assemble and bake the meringue closer to serving for best texture.
Do I have to bake the meringue?
Yes. That golden top is part of the experience. Skipping it defeats the point.