Peanut Butter Cookie Bars Sweet, Chewy, and Irresistible
Peanut Butter Cookie Bars Sweet, Chewy, and Irresistible
There’s something timeless about peanut butter and chocolate together—the classic combo that never fails to hit the sweet spot. These Peanut Butter Cookie Bars are the perfect example of that magic. Soft, chewy, and full of peanut butter flavor, they’re ideal for dessert plates, bake sales, or just a cozy afternoon treat with a cup of tea or coffee.
I remember the first time I made these bars. The smell of peanut butter and brown sugar baking in the oven filled the entire house, instantly evoking childhood memories of sneaking spoonfuls of cookie dough when no one was looking. When the bars finally came out, golden around the edges and soft in the middle, it was pure joy. Cutting them into squares and watching the chocolate chips melt slightly as they cooled felt like a little moment of triumph every single time.
What makes these cookie bars so special is their simplicity and versatility. They’re easy to whip up in one bowl, yet they deliver the kind of indulgence that makes everyone ask for seconds. You can keep them plain to showcase the peanut butter flavor or add mini chocolate chips for bursts of sweet chocolate goodness. They’re chewy, flavorful, and perfect for sharing—or keeping all to yourself.
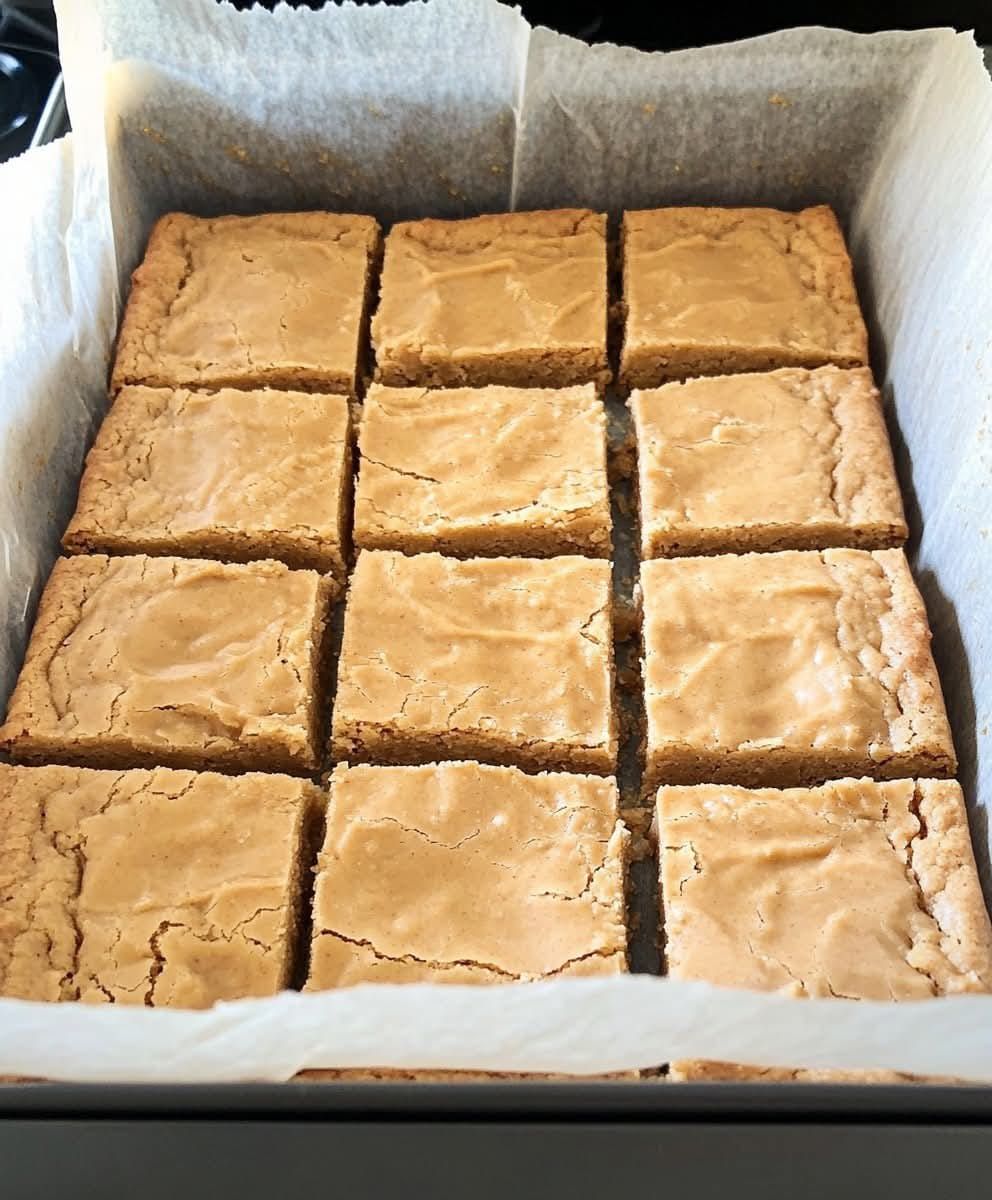
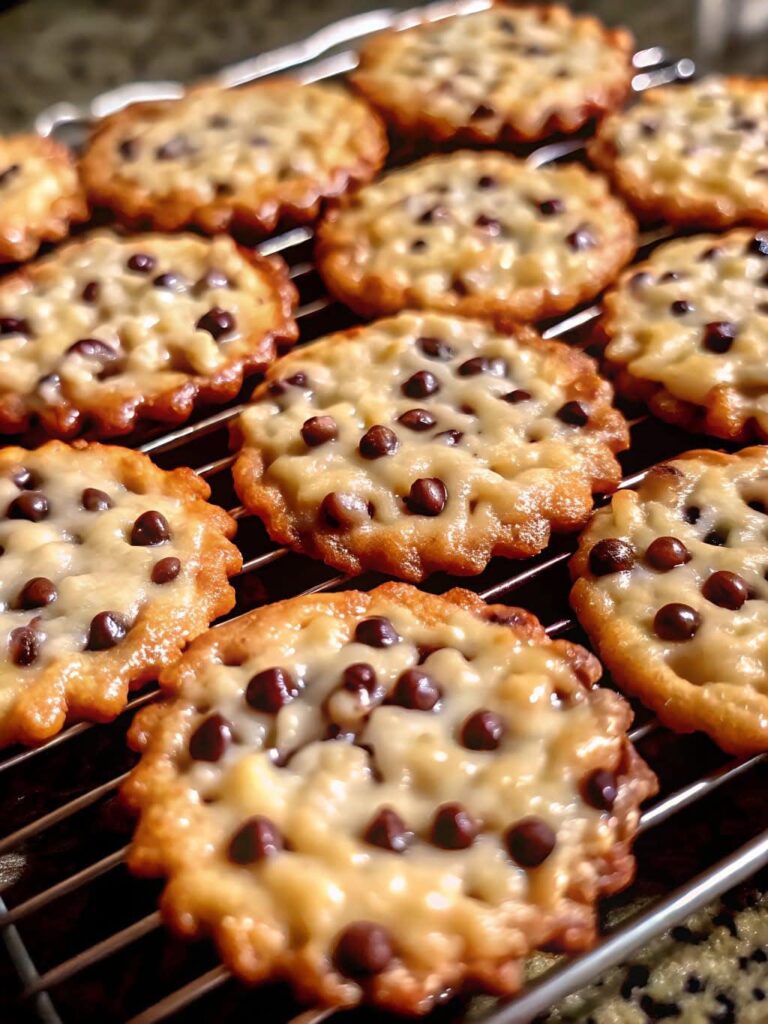
Peanut Butter Cookie Bars 🍪
Ingredients:
-
1 cup creamy peanut butter
-
1/2 cup unsalted butter, softened
-
3/4 cup granulated sugar
-
3/4 cup packed light brown sugar
-
2 large eggs
-
1 teaspoon vanilla extract
-
1 1/2 cups all-purpose flour
-
1/2 teaspoon baking soda
-
1/4 teaspoon salt
-
1/2 cup mini chocolate chips (optional)
Instructions:
Preheat the Oven:
Preheat your oven to 350°F (175°C) and grease or line a 9×13-inch baking pan with parchment paper.
Mix Wet Ingredients:
In a large mixing bowl, beat together the peanut butter, butter, granulated sugar, and brown sugar until smooth and creamy.
Add the eggs and vanilla extract, and beat until well combined.
Add Dry Ingredients:
In a separate bowl, whisk together the flour, baking soda, and salt.
Gradually add the dry ingredients into the wet mixture, stirring until just combined.
Add Chocolate Chips (Optional):
If using, fold in the mini chocolate chips.
Bake:
Spread the dough evenly into the prepared baking pan.
Bake for 20-25 minutes or until the edges are golden and a toothpick inserted into the center comes out clean.
Cool & Serve:
Allow the bars to cool completely in the pan before cutting into squares.
Tips for the Perfect Cookie Bars
-
Room-temperature butter and eggs create a smoother dough and even baking.
-
Don’t overmix once you add the flour. Overmixing can make the bars tough instead of soft and chewy.
-
Mini chocolate chips are preferred because they distribute evenly without sinking.
-
For extra flavor, sprinkle a little flaky sea salt on top before baking—it really makes the peanut butter pop.
Serving Ideas
These bars are versatile. Serve them warm for a gooey, indulgent treat, or let them cool for easy snackable squares. Pair with ice cream for a decadent dessert, or enjoy with a cold glass of milk for a classic, nostalgic pairing. They’re also perfect for lunchboxes, potlucks, and holiday cookie trays.
Storage Tips
-
Store cooled bars in an airtight container at room temperature for up to 5 days.
-
For longer storage, freeze the uncut bars in the pan, wrapped tightly in plastic wrap and foil, for up to 3 months. Thaw at room temperature before slicing.
-
Chocolate chips can sometimes harden in the fridge, so allow bars to reach room temperature for soft, chewy bites.
FAQ
Can I use natural peanut butter?
Yes! Natural peanut butter works well, though the bars may be slightly softer. Reduce added butter by 1-2 tablespoons if needed.
Can I make them gluten-free?
Substitute the all-purpose flour with a 1:1 gluten-free flour blend. Texture may vary slightly.
Can I add mix-ins?
Absolutely. Chopped peanuts, white chocolate chips, or even a swirl of caramel work beautifully.
Can I bake in a smaller pan?
Yes, just reduce the baking time slightly. Keep an eye on the edges for golden perfection.