Reese’s Peanut Butter No Bake Bars You’ll Crave Again and Again
Reese’s Peanut Butter No Bake Bars You’ll Crave Again and Again
Introduction
There are some desserts that don’t just satisfy a sweet tooth—they become a habit. These Reese’s Peanut Butter No Bake Bars fall squarely into that category. One bite, and suddenly you’re hooked on that perfect balance of creamy peanut butter, soft graham base, and rich chocolate topping. It’s the kind of treat that disappears faster than you expect, especially when shared with family or friends.
What makes these bars extra special is how effortlessly they come together. No oven, no complicated steps, no stress. Just a few pantry staples and a little bit of patience while they chill. It’s the kind of recipe you turn to when you want something indulgent without spending hours in the kitchen.
I remember desserts like this being the highlight of casual gatherings—cut into squares, stacked on a plate, and quietly vanishing as everyone kept going back for “just one more.” There’s something nostalgic about that combination of peanut butter and chocolate. It’s comforting, familiar, and always satisfying.
Whether you’re making these for a party, a late-night craving, or just to keep something sweet on hand, these no-bake bars are the kind of recipe you’ll find yourself coming back to again and again.
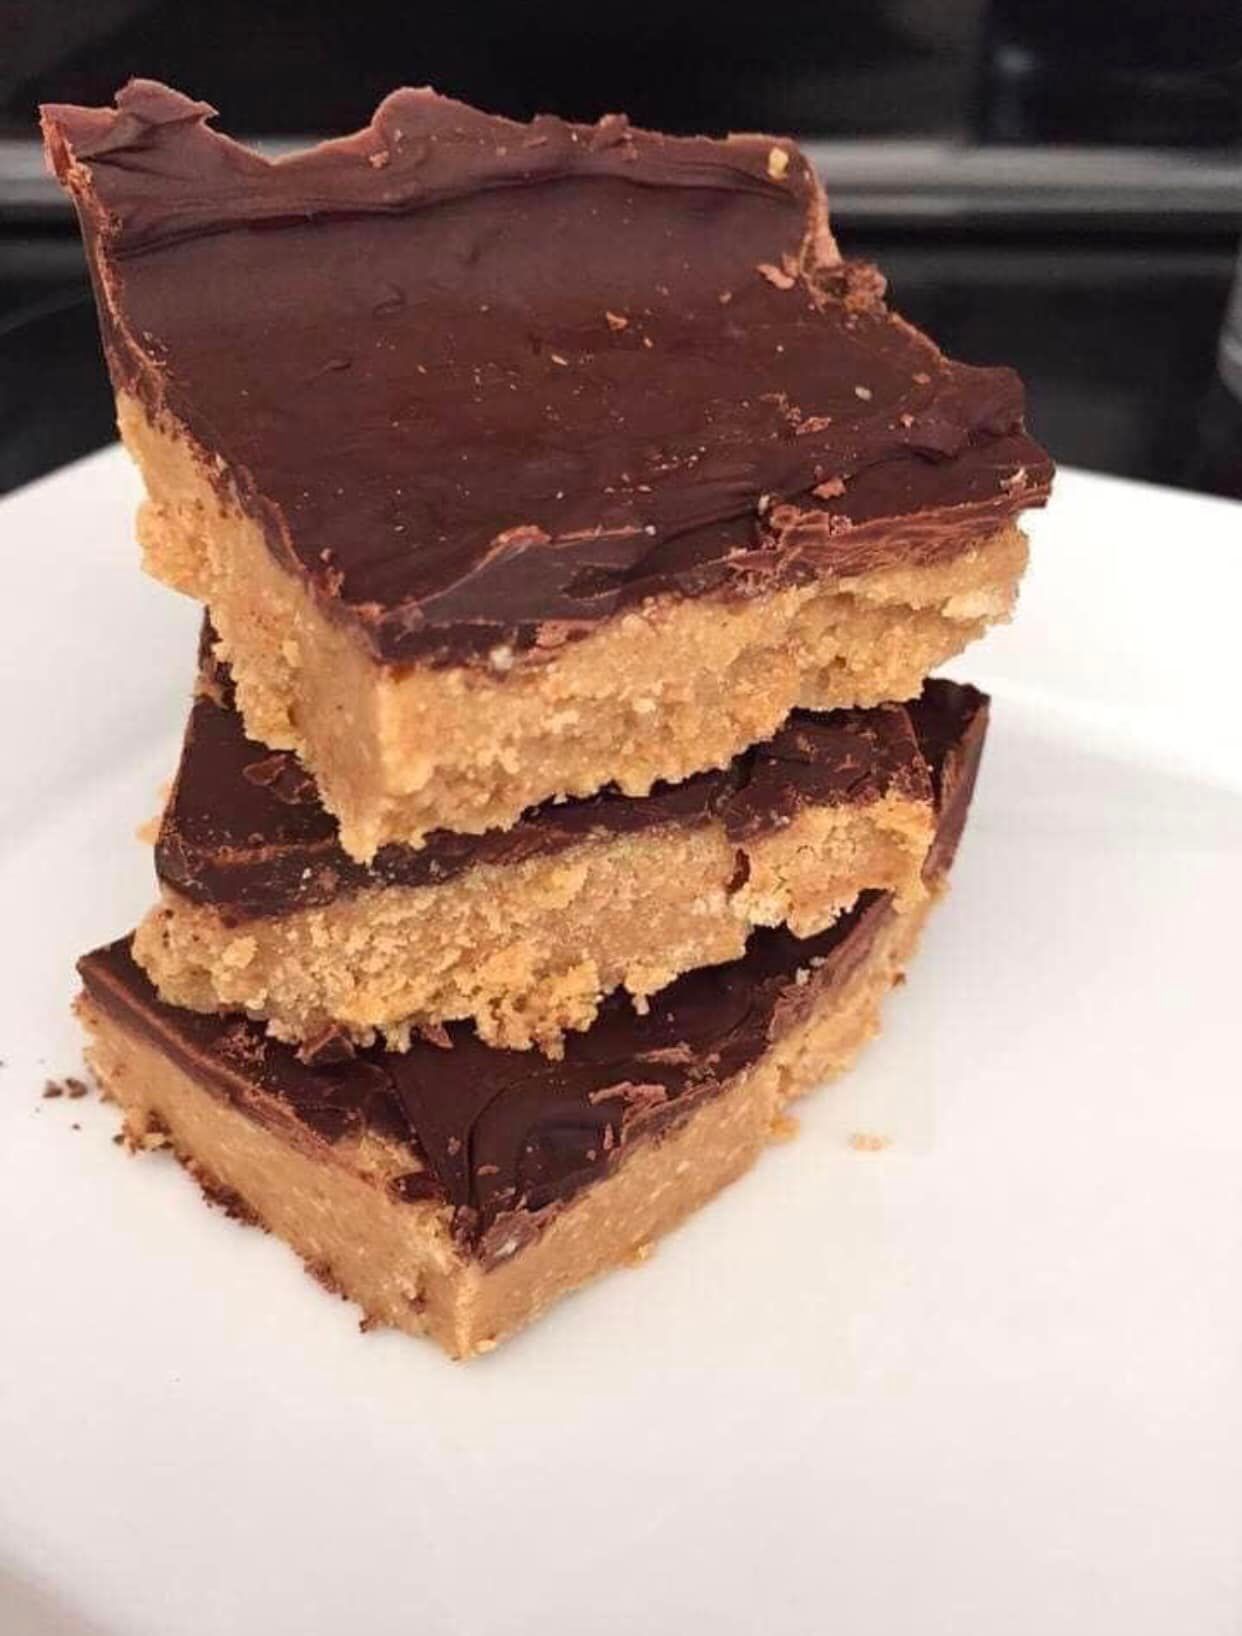
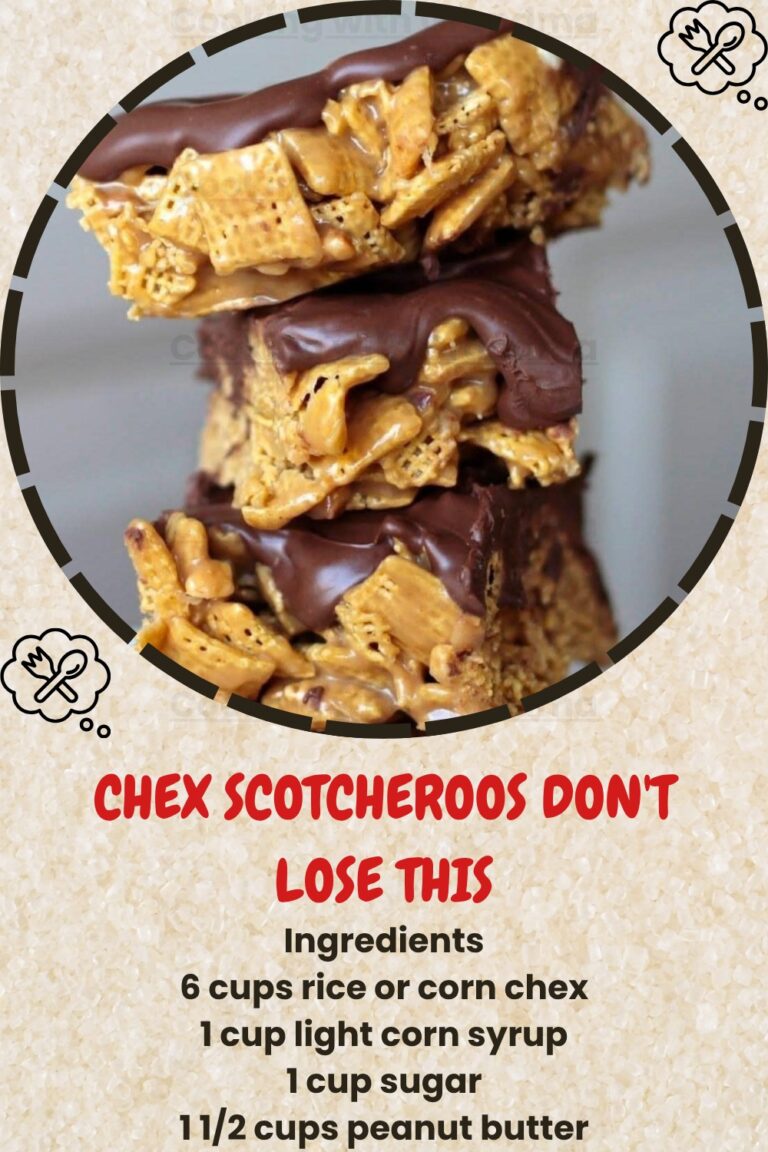
Reese’s Peanut Butter No Bake Bars
Ingredients
1 cup butter (melted)
2 cups graham cracker crumbs
1/4 cup brown sugar
1 3/4 cup powdered sugar
1 cup peanut butter
1/2 tsp. vanilla
1 (11 oz) package of milk chocolate chips (I prefer to use semi sweet)
Instructions
- Combine all ingredients, except the chocolate chips in a medium sized bowl. Stir until the mixture is smooth and creamy.
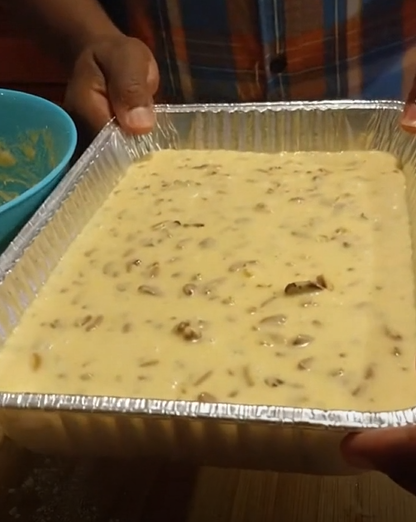
- Pour peanut butter mixture into a 9 x 13 pan.
- Melt chocolate chips in the microwave (at 50% power) for 1-2 minutes. Stir chocolate and pour over the peanut butter mixture. Spread chocolate over mixture with a spatula.
- Put bars in fridge for one hour to set. Cut while bars once cooled.
Tips for Perfect No Bake Bars
The beauty of this recipe is its simplicity, but a few small tips can make a noticeable difference. First, make sure your butter is fully melted but not too hot—this helps everything blend smoothly without making the mixture oily. When mixing the base, aim for a thick, cohesive texture that presses easily into the pan.
If your chocolate layer cracks when cutting, let the bars sit at room temperature for a few minutes before slicing. This softens the chocolate just enough for cleaner cuts.
You can also adjust the sweetness slightly. If you prefer less sweetness, using semi-sweet chocolate chips (as suggested) balances the rich peanut butter layer beautifully.
Easy Substitutions & Variations
One of the best things about these bars is how flexible they are. You can swap out graham cracker crumbs for crushed digestive biscuits or even vanilla wafers for a slightly different flavor.
If peanut butter isn’t your thing (or you want to try something new), almond butter or cashew butter works well too. Just keep in mind that the flavor will shift slightly, but still taste amazing.
For a fun twist, try adding a pinch of sea salt on top of the chocolate layer before chilling. That sweet-and-salty combination takes these bars to another level.
Serving Ideas & When to Enjoy
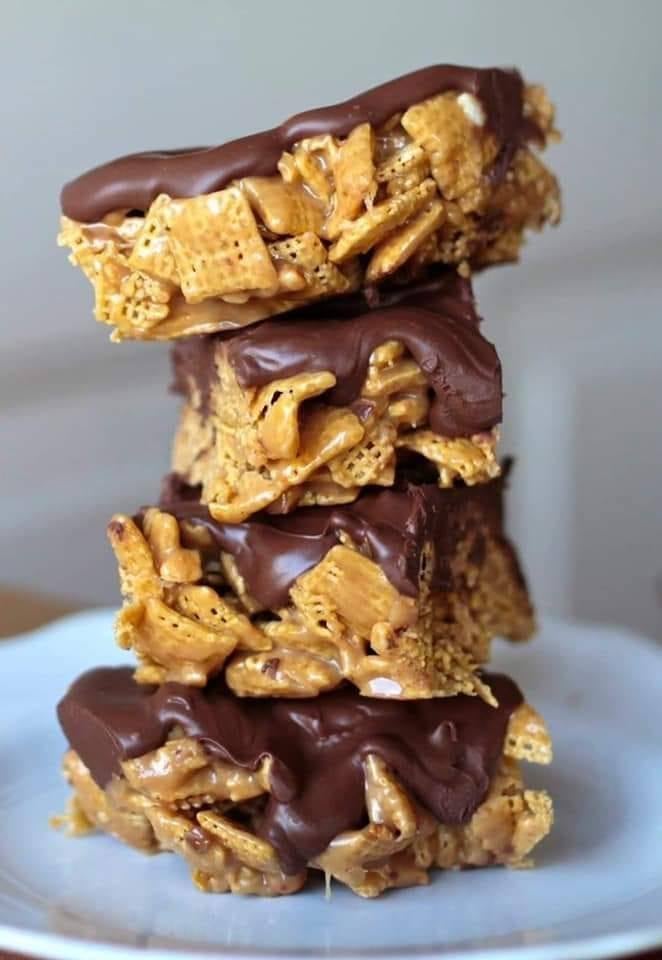
These bars are perfect for just about any occasion. Serve them chilled for a firm, fudge-like texture, or let them sit out for a softer, melt-in-your-mouth bite.
They’re great for potlucks, picnics, bake sales, or even as a quick dessert after dinner. You can cut them into small squares for sharing—or larger pieces if you’re feeling indulgent.
Pair them with a glass of cold milk or a hot cup of coffee, and you’ve got a treat that feels both simple and satisfying.
Storage & Freezing Tips
Store these bars in an airtight container in the refrigerator for up to a week. Keeping them chilled helps maintain their structure and texture.
If you want to make them ahead of time, they freeze beautifully. Just layer them between sheets of parchment paper in a freezer-safe container. They’ll keep well for up to 2 months. When ready to eat, let them thaw in the fridge or at room temperature for a few minutes.
Frequently Asked Questions
1. Can I make these bars without powdered sugar?
Powdered sugar helps create that smooth, creamy texture. Substituting it may change the consistency, so it’s best to stick with it for this recipe.
2. Why are my bars too soft?
This usually happens if there’s too much butter or not enough chilling time. Make sure to refrigerate them for at least one hour.
3. Can I use natural peanut butter?
Yes, but keep in mind it can be more oily or runny. Stir it well before using, and the texture may be slightly softer.
4. How do I get clean cuts?
Use a sharp knife and wipe it clean between cuts. Letting the bars sit out briefly also helps prevent cracking in the chocolate layer.