Six-Minute Caramels That Taste Like Home
Six-Minute Caramels That Taste Like Home
There’s something deeply comforting about the smell of butter and sugar slowly transforming into golden caramel. It’s the kind of aroma that fills your kitchen and wraps around you like a warm hug on a cool evening. I still remember the first time I made caramels from scratch with my grandmother. She didn’t have fancy thermometers or silicone spatulas — just a sturdy wooden spoon, a worn-out saucepan, and an instinct for sweetness. I used to think caramel-making was some mysterious art that took years to master.
Fast forward to today, and here we are — with a recipe so simple, it’ll make you wonder why you ever bought caramels at the store. These Six-Minute Caramels are the ultimate shortcut to homemade candy magic. They’re rich, buttery, and perfectly chewy with that signature melt-in-your-mouth sweetness. And the best part? You don’t need a candy thermometer or a whole afternoon to make them. Just a microwave, a big bowl, and a little patience while they cool.
This recipe is ideal for busy days when you want a homemade treat without the fuss — perfect for gifting, holiday platters, or sneaking one (or two) after dinner. Every bite brings a touch of nostalgia, like the holidays in a square of caramel. Let’s bring that old-fashioned sweetness into your kitchen — in just six minutes.
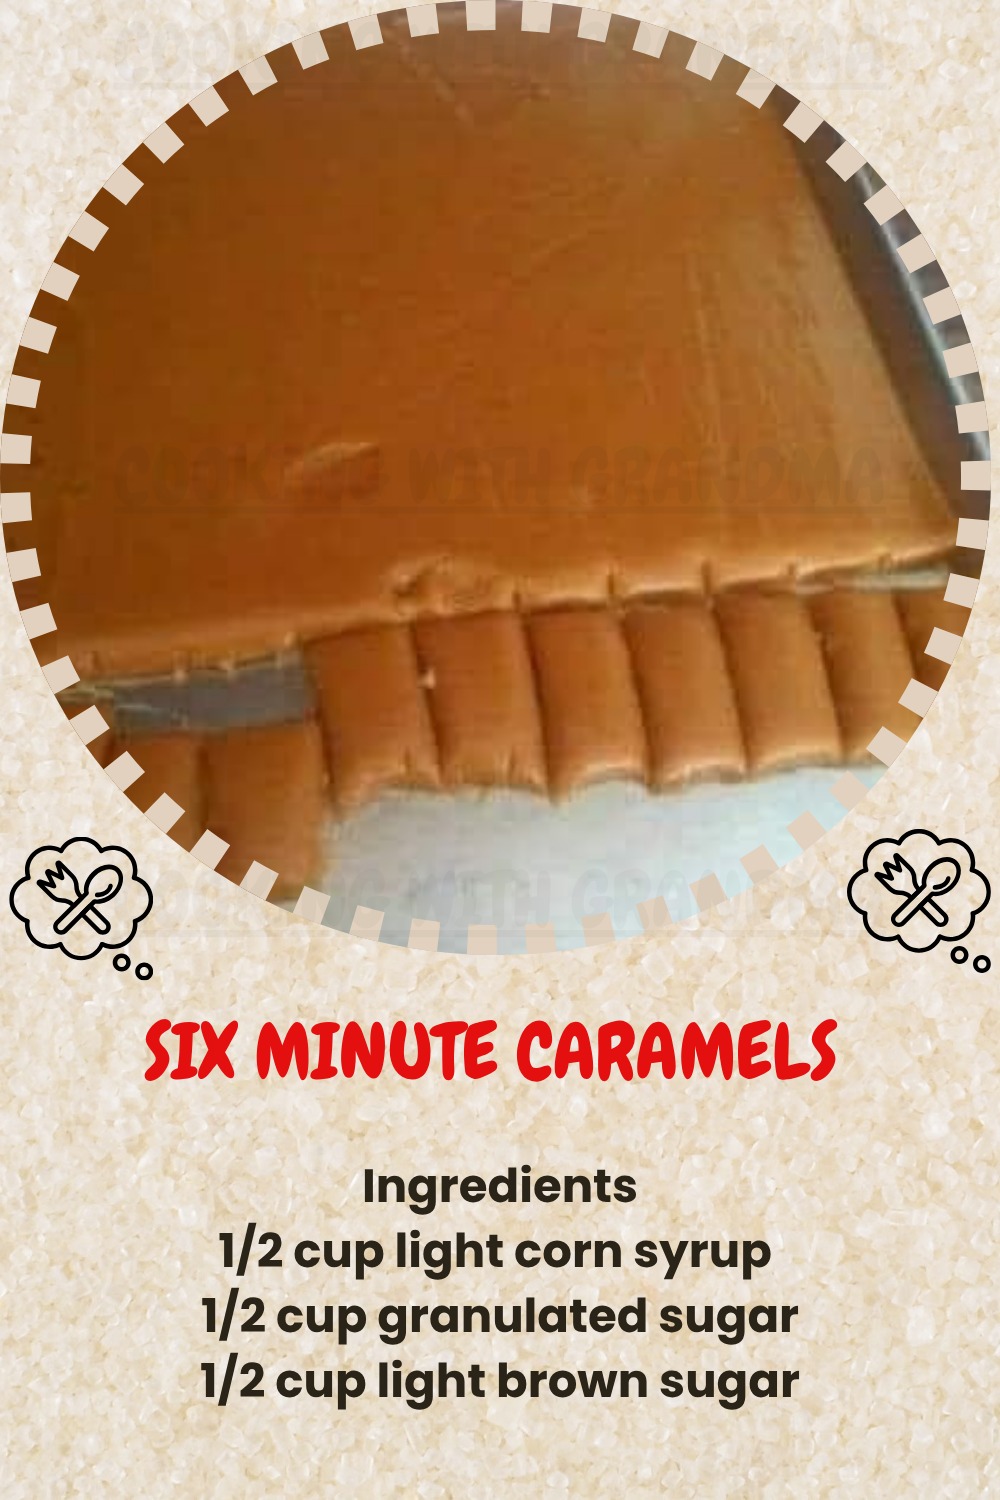
Six Minute Caramels
Ingredients:
1/2 cup salted butter (1 stick, 8 tbsp), melted in a large mug or microwave-safe bowl
1/2 cup light corn syrup (Karo works great)
1/2 cup granulated sugar
1/2 cup light brown sugar
1/2 cup sweetened condensed milk
1 teaspoon vanilla extract
Optional: Sea salt for topping
Directions:
-
Butter an 8×8 baking dish, or line it with parchment paper.
-
In a large glass bowl, melt the butter in the microwave.
-
Add all other ingredients (except vanilla) and stir to combine. If not using sea salt as a topping, add 1/4 teaspoon of table salt to the mixture.
-
Return the bowl to the microwave for 6 minutes and 30 seconds. Microwave times may vary.
-
Carefully remove the bowl (use heating pads) and stir in the vanilla extract.
-
Pour the caramel into the prepared baking dish. Let it sit for a bit, then sprinkle with sea salt if desired.
-
Allow the caramel to cool completely before slicing. For easier slicing, refrigerate the caramel until cold.
-
Optionally, wrap the caramel pieces in wax paper for storage.
Tips for Perfect Caramels Every Time
1. Use a large microwave-safe bowl.
Caramel bubbles up as it cooks, so choose a bowl that’s deep enough to prevent overflow. Glass works best since it heats evenly.
2. Don’t skip the butter.
It’s what gives your caramels that velvety texture and rich flavor. Unsalted butter can be used, but add an extra pinch of salt to balance the sweetness.
3. Adjust the cook time slightly for your microwave.
Every microwave runs a bit differently. If your caramels turn out too soft, try adding 15–30 seconds next time. If they’re too firm, reduce by a few seconds.
4. Stir well after cooking.
That final stir with the vanilla extract is essential — it not only adds beautiful flavor but also ensures the caramel’s texture is perfectly smooth.
5. Make it your own.
Try stirring in chopped nuts, crushed pretzels, or even a swirl of chocolate before pouring it into the pan. It’s a simple way to customize your batch.
Serving Ideas
-
Holiday Gifts: Wrap each caramel square in wax paper, twist the ends, and drop them into small tins or mason jars. Add a ribbon for an instant homemade gift.
-
Dessert Topping: Melt a few pieces with a splash of cream to create a quick caramel sauce — perfect for drizzling over ice cream, brownies, or apple pie.
-
Coffee Companion: Enjoy one or two pieces with a hot cup of coffee or cocoa. The buttery sweetness pairs perfectly with warm drinks.
-
Party Treats: Cut into tiny squares and serve alongside other bite-sized desserts for an easy candy table addition.
Storage and Freezing Tips
Homemade caramels keep beautifully if stored correctly. Once cooled and cut, wrap each piece in wax paper or parchment. Place them in an airtight container at room temperature for up to two weeks — though they rarely last that long!
For longer storage, you can refrigerate them for up to one month. Just let them come to room temperature before eating for the best texture.
Want to save a batch for later? Freeze them! Wrap tightly and store in a freezer-safe bag. When ready to enjoy, thaw in the fridge overnight or at room temperature for an hour or two. The flavor and texture remain wonderfully smooth.
FAQ
Q1: Can I use dark corn syrup instead of light?
Yes, but it will give your caramels a deeper, almost toffee-like flavor. Light corn syrup keeps the flavor classic and mild.
Q2: My caramels are too hard. What happened?
They likely cooked a bit too long. Reduce the microwave time by 15–20 seconds on your next batch.
Q3: Can I make these dairy-free?
You can try plant-based butter and dairy-free sweetened condensed milk (many brands make coconut-based versions). The flavor will change slightly but still be delicious.
Q4: How do I cut neat caramel squares?
Chill the caramel until firm, then use a sharp knife lightly coated with butter or sprayed with cooking spray. Clean the blade between cuts for tidy edges.