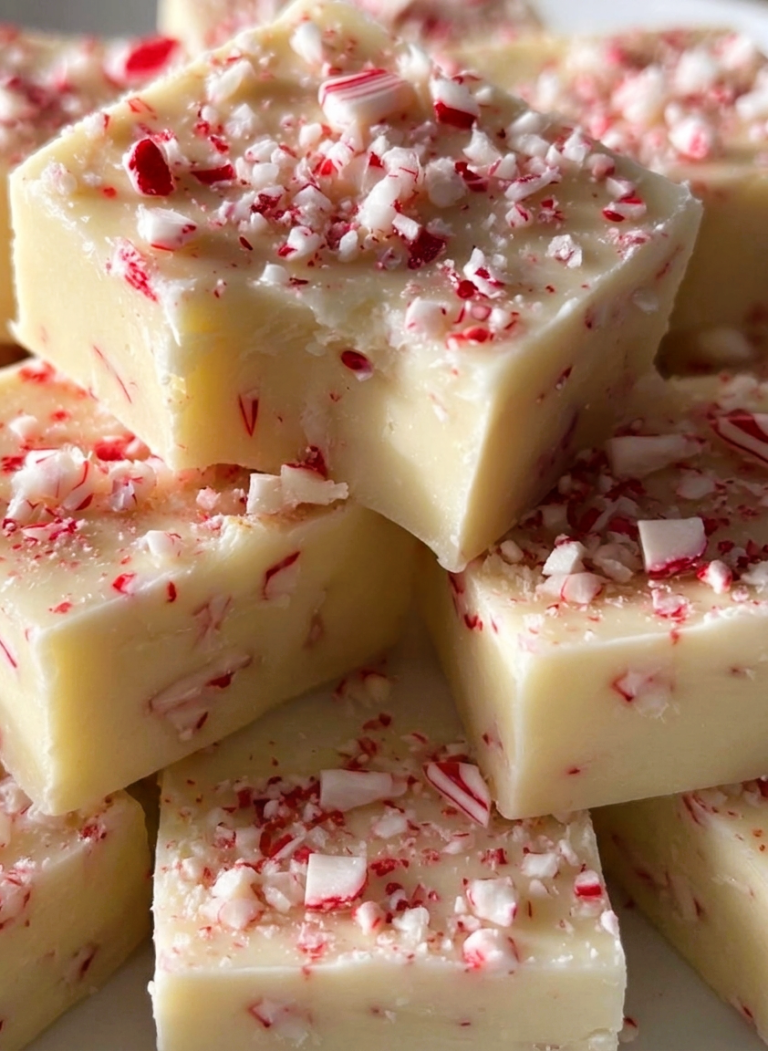
Cotton Candy Fudge Recipe: A Fun, Creamy No-Bake Treat Bursting with Carnival Flavor
Cotton Candy Fudge Recipe: A Fun, Creamy No-Bake Treat Bursting with Carnival Flavor
Some desserts are made to satisfy a sweet craving, while others are designed to spark joy before you even take the first bite. This Cotton Candy Fudge does exactly that. With its dreamy pastel swirls, creamy white chocolate base, and nostalgic cotton candy flavor, it’s a dessert that instantly reminds people of county fairs, carnival rides, birthday parties, and carefree childhood afternoons.
One glance at this colorful fudge is enough to brighten any dessert table. The soft pink swirls and smooth, creamy texture make it as beautiful as it is delicious. Whether you’re preparing treats for a birthday celebration, baby shower, holiday dessert tray, bake sale, or themed party, this fudge is guaranteed to become one of the first desserts people reach for.
The best part is that it looks far more elaborate than it actually is. A handful of pantry-friendly ingredients come together to create a silky fudge that slices beautifully into neat squares. The marbled effect gives every piece its own unique appearance, making the finished dessert look like it came from a gourmet candy shop.
Because this recipe chills instead of baking, it’s also a wonderful make-ahead dessert. Simply prepare it the day before your event, refrigerate until firm, and slice it when you’re ready to serve. It’s a convenient option for busy hosts while still delivering a colorful centerpiece worthy of any celebration.
If you’re looking for a playful homemade candy that’s creamy, colorful, and unforgettable, this Cotton Candy Fudge is sure to become a favorite recipe for parties and special occasions.

Cotton Candy Fudge
Ingredients:
2 cups sugar
3/4 cups butter (plus a little extra for greasing)
12 ounces white chocolate or vanilla chips
7 ounce jar marshmallow creme
3/4 cup heavy whipping cream
1 packet (0.10 ounce) Duncan Hines Cotton Candy Frosting Creations flavor mix
Pink food coloring (optional, for added whimsy)
Directions:
Prep Work: Begin by lining a 13×9 inch pan with foil. Lightly grease the foil with nonstick spray or a bit of butter to ensure your fudge doesn’t stick.
Combine the Basics: In a large saucepan, combine the sugar, butter, and heavy whipping cream. Cook over low heat, stirring constantly, until the sugar has fully dissolved.
Boil to Perfection: Once the sugar is dissolved, increase the heat slightly to bring the mixture to a boil. Continue stirring for about 4 minutes.
Add the Magic: Remove the saucepan from the heat. Stir in the marshmallow creme and white chocolate chips until the mixture is smooth and the chips have completely melted.
Layer the Flavors: Pour three-quarters of the fudge mixture into your prepared pan, spreading it evenly. To the remaining mixture in the saucepan, add the cotton candy flavor mix. Stir well until the mixture is thoroughly combined and has taken on a delightful cotton candy hue.
Create the Swirl: Spoon or drizzle the cotton candy flavored fudge over the base layer in the pan. If you’re using pink food coloring, add a few drops across the top. Then, with a butter knife or a skewer, gently swirl the top layer into the base to create a beautiful marbled effect.
Chill and Set: Cover the pan and refrigerate until the fudge is firm. This could take several hours. Once set, lift the fudge out of the pan using the foil edges. Cut into squares and serve.
This Cotton Candy Fudge recipe is a fun, festive treat that brings a touch of carnival magic to your kitchen. Its creamy texture combined with the nostalgic flavor of cotton candy makes every bite a delightful experience.
Helpful Tips for Perfect Fudge
When melting the ingredients together, stir continuously to help create a smooth, creamy texture. Taking your time during this step helps prevent the mixture from sticking and ensures the chocolate melts evenly.
For the prettiest marbled effect, swirl the colored layer gently using a butter knife or skewer. A few light passes create attractive ribbons of color without blending everything together.
Allow the fudge to chill completely before cutting. Using a sharp knife and wiping the blade clean between slices produces neat, professional-looking squares that are perfect for serving or gifting.
Fun Variations and Serving Ideas
This recipe already has a playful appearance, but it’s easy to make it even more festive. Decorate the top with colorful sprinkles, edible glitter, or pastel candy pearls before the fudge sets for extra visual appeal.
Arrange the finished squares on colorful dessert platters alongside cookies, brownies, and candies for birthdays, baby showers, carnival-themed parties, and holiday gatherings. Individually wrapping each piece also makes wonderful party favors or homemade gifts.
Serve the fudge with coffee, tea, hot chocolate, or cold milk for a sweet treat that’s sure to bring smiles to guests of all ages.
Storage and Freezing Tips
Store the fudge in an airtight container in the refrigerator for up to one week. Place parchment or wax paper between the layers to prevent sticking.
For longer storage, freeze the fudge in a freezer-safe container for up to three months. Allow it to thaw overnight in the refrigerator before serving.
Keeping the fudge chilled helps preserve its creamy texture, especially during warmer weather.
Frequently Asked Questions
Can I prepare this fudge ahead of time?
Yes. Since the fudge requires several hours to chill, it’s an ideal dessert to make the day before serving.
Is the pink food coloring required?
No. The food coloring is completely optional and simply adds extra color for a more festive appearance.
How do I get clean slices?
Use a sharp knife and wipe it clean after each cut. Chilling the fudge completely before slicing also helps create smooth edges.
What occasions are perfect for Cotton Candy Fudge?
It’s wonderful for birthdays, baby showers, carnival-themed parties, bake sales, holiday dessert trays, school celebrations, and colorful dessert buffets.