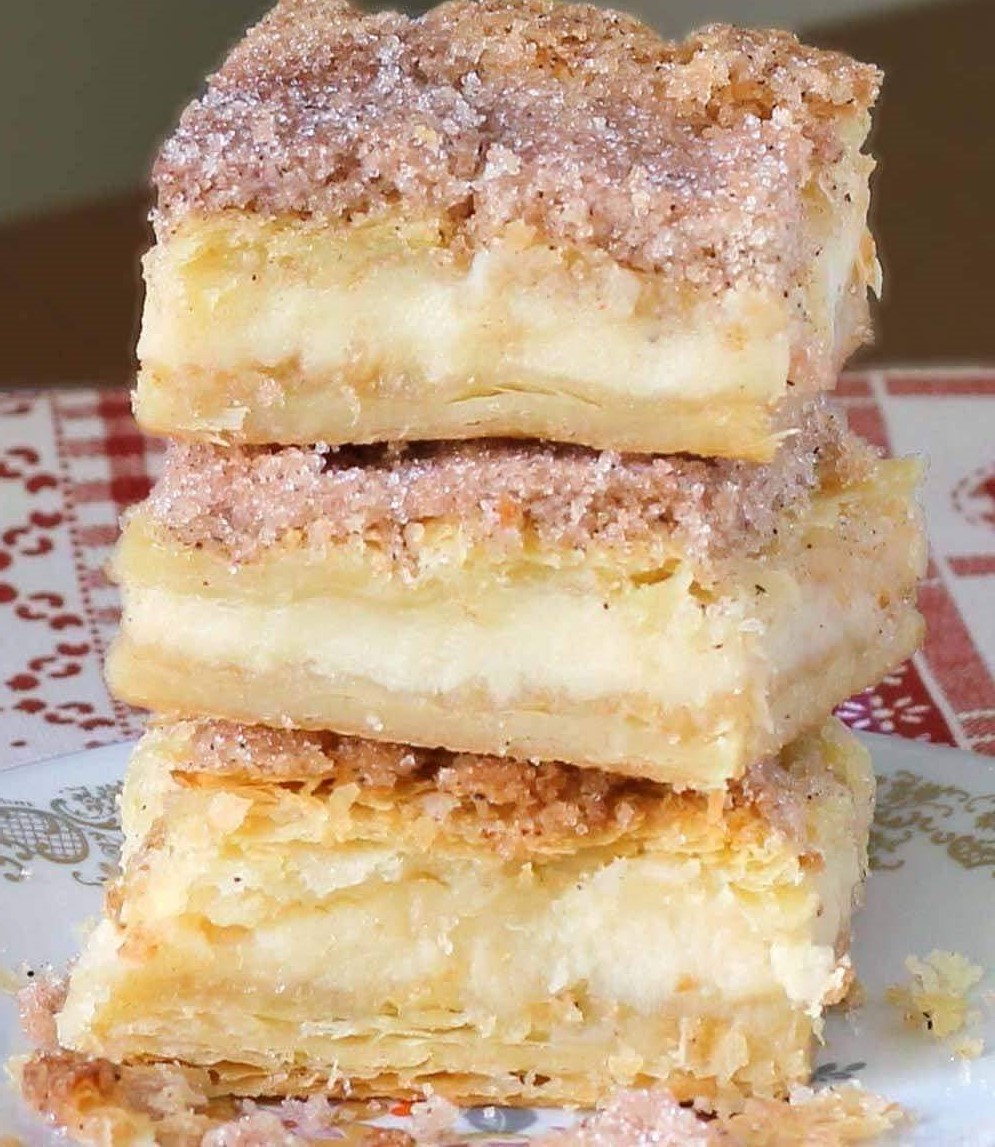
Crescent Roll Cheesecake Bars – Easy, Creamy Dessert Everyone Loves
Crescent Roll Cheesecake Bars – Easy, Creamy Dessert Everyone Loves
Introduction
There’s something undeniably comforting about recipes that come together with simple ingredients yet taste like they came straight from a bakery. These Crescent Roll Cheesecake Bars are one of those desserts that instantly take you back—maybe to a family gathering, a cozy weekend in the kitchen, or that one friend who always brought the best homemade treats.
What I love most about this recipe is how effortlessly it blends two worlds: the buttery, flaky layers of crescent rolls and the rich, creamy goodness of cheesecake. It’s the kind of dessert you can whip up without stress, yet it always gets people asking for seconds (and the recipe, of course). Whether you serve it warm and gooey or chilled and perfectly set, it never disappoints.
This is also one of those recipes that feels a little nostalgic—simple, sweet, and made for sharing. You don’t need fancy tools or complicated steps, just a few pantry staples and a bit of time. Perfect for holidays, potlucks, or even a quiet night when you’re craving something indulgent, these bars are guaranteed to become a favorite in your home too.
Crescent Roll Cheesecake Bars Recipe
Ingredients
2 (8oz.) packs of Pillsbury crescent rolls
2 (8oz.) packs of cream cheese, room temperature
1 cup of sugar
1 teaspoon vanilla
¼ cup butter (melted)
1 tablespoon cinnamon
4 tablespoons sugar
Directions
Preheat the oven to 350 degrees. Spray 9 x 13 baking dish with cooking spray.
Press a can of the crescent rolls to the bottom of the dish, making sure to reach edges and keep them together. Bake the first layer of crescent roll dough till just done maybe 5-8 minutes. (Optional, that way I make sure it is done. I don’t like raw dough).
Combine softened cream cheese, sugar, and vanilla. Spread mixture over crescent rolls.
Roll the remaining crescent roll over the top and stretch to the edges and seal.
Brush across the entire top of the crescent roll with the melted butter. Sprinkle the top with 1 tablespoon cinnamon and 4 tablespoons of sugar.
Bake for about 30 minutes, or until golden brown. Eat warm (it will be a hot mess!) or let cool and chill for several hours before serving. I prefer the chilled version so I store mine in the fridge,
Slice into bars and serve. Enjoy!
Helpful Tips & Substitutions
One of the best things about this recipe is how forgiving it is. Even if you’re not super experienced in the kitchen, you’ll still end up with something delicious.
- Room temperature cream cheese matters: If your cream cheese is too cold, it won’t mix smoothly. Let it sit out for about 30 minutes before using.
- Seal the crescent dough well: When layering the top, gently pinch any seams together so the filling stays nicely tucked inside.
- Don’t skip pre-baking (if you prefer firm layers): This optional step helps ensure the bottom layer isn’t doughy, especially if you like a more structured bar.
- Flavor variations: You can easily customize this recipe by adding a hint of lemon zest to the filling, or even a drizzle of honey on top after baking.
- Lower sugar option: Reduce the sugar slightly in the filling if you prefer a less sweet dessert—it will still taste amazing.

Serving Ideas & When to Enjoy
These cheesecake bars are incredibly versatile. They fit just about any occasion:
- Holiday gatherings: Their cinnamon-sugar topping gives them a cozy, festive feel.
- Potlucks and parties: Easy to transport and slice, making them perfect for sharing.
- After-dinner dessert: Serve chilled for a clean, creamy bite after a meal.
- Coffee companion: A small square pairs beautifully with a cup of coffee or tea in the afternoon.
If you like a softer, gooier texture, serve them slightly warm. If you prefer a classic cheesecake feel, chilling them for a few hours is definitely the way to go.
Storage & Freezing Tips
- Refrigeration: Store the bars in an airtight container in the fridge for up to 4–5 days. They actually taste even better the next day as the flavors settle.
- Freezing: You can freeze these bars! Wrap individual slices tightly in plastic wrap, then place them in a freezer-safe container. They’ll keep for up to 2 months.
- Thawing: Let them thaw overnight in the refrigerator for the best texture.
Frequently Asked Questions
1. Can I use low-fat cream cheese?
Yes, you can. The texture may be slightly less rich, but it will still turn out creamy and delicious.
2. Do I have to chill the bars before serving?
No, it’s totally optional. They’re delicious warm, but chilling helps them firm up and makes slicing cleaner.
3. Can I add toppings?
Absolutely! Try powdered sugar, a drizzle of caramel, or even fresh berries for a fun twist.
4. Why is my dough soggy on the bottom?
This can happen if the bottom layer isn’t baked enough initially. Pre-baking for a few minutes helps prevent that.