Soft & Fluffy Yeast Dinner Rolls That Taste Like Home
Soft & Fluffy Yeast Dinner Rolls That Taste Like Home
Introduction
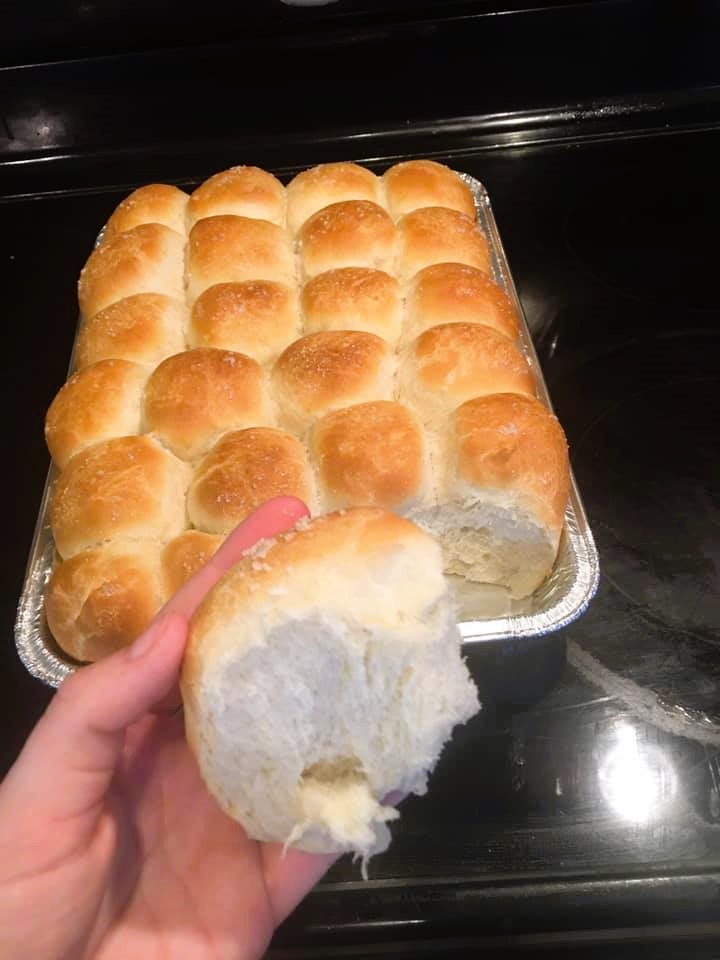
There’s a certain kind of magic in the smell of freshly baked bread drifting through the kitchen. It’s warm, comforting, and instantly nostalgic—like stepping into a memory you didn’t even realize you missed. These yeast dinner rolls are the kind that bring people to the table before you even call them. Golden on the outside, pillowy on the inside, and brushed with just enough butter to melt into every bite, they’re the definition of homemade comfort.
If you grew up around family meals where bread was always part of the spread, you’ll recognize the feeling these rolls bring. They’re not fancy or complicated—they’re dependable, generous, and made to be shared. Whether it’s a holiday feast, a weekend dinner, or just a day when you feel like baking something from scratch, these rolls deliver every single time.
What makes this recipe special is its simplicity paired with big results. It yields a large batch, perfect for feeding a crowd or stocking your freezer for later. And once you get the hang of working with yeast, you’ll realize it’s not intimidating at all—it’s actually one of the most satisfying baking experiences out there.
So roll up your sleeves, dust your counter with flour, and get ready to bake something that feels like home from the very first bite.
Yeast Dinner Rolls
Ingredients
Yeast mixture:
3 TBSP Active Yeast
1 TBSP Sugar
1 cup warm water (think baby bath water)*
*(the temp of the water is important. Too cold or too hot will kill the yeast. It needs to be the temperature you’d use for a newborn’s bath)
*(Measure this right into a 2 cup glass measuring cup and add the (1 cup) warm water. When the mixture bubbles/foams up to the top of the two cup mark it’s ready)
9-10 cups all purpose flour
1/2 Cup sugar
1 TBSP salt
Yeast mixture
3 cups warm water
1/2 cup oil
Directions
Mix everything together and knead until dough is soft. It will be tacky, but not stick to your fingers. Add more flour if it’s too sticky.
Put in a greased bowl and cover with a towel for 1 hr place it on your stovetop)
Punch it down after it’s risen and give a quick knead.
Grease bottom of baking tray(s) (Use Crisco shortening) and make 48 rolls. (24 if you cut recipe in half) (Could make 2 loaves of bread too.)
Cover the rolls and let rise again for 1 hour.
When they are ready to go in your oven, put softened butter on the tops of each and a little sea salt.
Bake at 375° for 20-30 min.
*Note: If you half this recipe it will turn out just fine!
FOR CINNAMON ROLLS: let the dough rise as normal then cut it into two or four equal portions. Roll one out and spread softened butter to the edges, sprinkle cinnamon and brown sugar, then roll up. Cut, place in a pan, and let rise for 1 hour before baking. I use cream cheese, powdered sugar and milk for the icing.
Cooking Tips & Helpful Substitutions
Working with yeast might seem tricky at first, but once you understand a few basics, it becomes second nature. The most important part of this recipe is the temperature of your water. If it’s too hot, it will kill the yeast. Too cold, and the yeast won’t activate properly. Aim for warm—comfortable to the touch, not steaming.
When kneading, don’t rush the process. The dough should become smooth and elastic. If it’s sticking heavily to your hands, add a little flour at a time, but be careful not to overdo it—you want soft rolls, not dense ones.
If you prefer, you can substitute part of the all-purpose flour with bread flour for a slightly chewier texture. You can also swap the oil for melted butter if you want a richer flavor.
Serving Ideas & When to Enjoy
These rolls are incredibly versatile. Serve them warm with a pat of butter alongside soups, stews, roasted meats, or holiday dinners. They’re perfect for soaking up sauces and gravies, making every meal feel a little more complete.
They also make amazing sandwich rolls. Slice them open and fill them with deli meats, cheese, or even leftovers from dinner. And of course, if you follow the cinnamon roll variation, you’ve got yourself a sweet treat that’s perfect for breakfast or brunch.
Honestly, there’s no wrong time to enjoy these—morning, noon, or night, they always hit the spot.
Storage & Freezing Tips
Once cooled, store the rolls in an airtight container at room temperature for up to 3 days. To keep them soft, you can wrap them in foil or plastic wrap.
For longer storage, freeze them. Place fully cooled rolls in a freezer-safe bag and freeze for up to 2 months. When ready to eat, let them thaw at room temperature and warm them in the oven for a few minutes to bring back that fresh-baked feel.
You can also freeze the dough after the first rise, then shape and bake later when needed.
Frequently Asked Questions
Why didn’t my dough rise?
This usually comes down to yeast issues—either the water was too hot or too cold, or the yeast was no longer active. Always check for that foamy reaction before moving forward.
Can I make these rolls smaller or larger?
Yes. Adjust the size depending on your preference, but keep in mind that baking time may change slightly.
Do I have to use shortening for the pan?
No, you can use butter or oil instead. Shortening just helps prevent sticking and gives a classic texture.
Can I prepare the dough ahead of time?
Absolutely. You can refrigerate the dough after the first rise and use it the next day. Just let it come back to room temperature before shaping.